Digital document vault: back up IDs, titles before floods
Back up IDs, land titles, and records before a flood or typhoon hits. Free step-by-step guide: cloud storage, phone folders, and a trusted-person copy.
What you’ll be able to do — and why it matters
After a bad flood, the thing that stalls families for weeks isn’t always the water damage. It’s standing in line at a barangay hall or an SSS branch without a single ID or document to prove who they are, what they own, or what assistance they’re entitled to. I’ve sat with families going through exactly that — soaked, tired, and stuck because the one folder with everything in it was in a drawer that didn’t survive.
This guide is about making sure that never has to be you. By the end, you’ll have a digital copy of your most important documents — sitting in the cloud, on your phone, and in the hands of one trusted person — so that even if the original is soaked, buried, or gone, you can still prove who you are and get help moving.
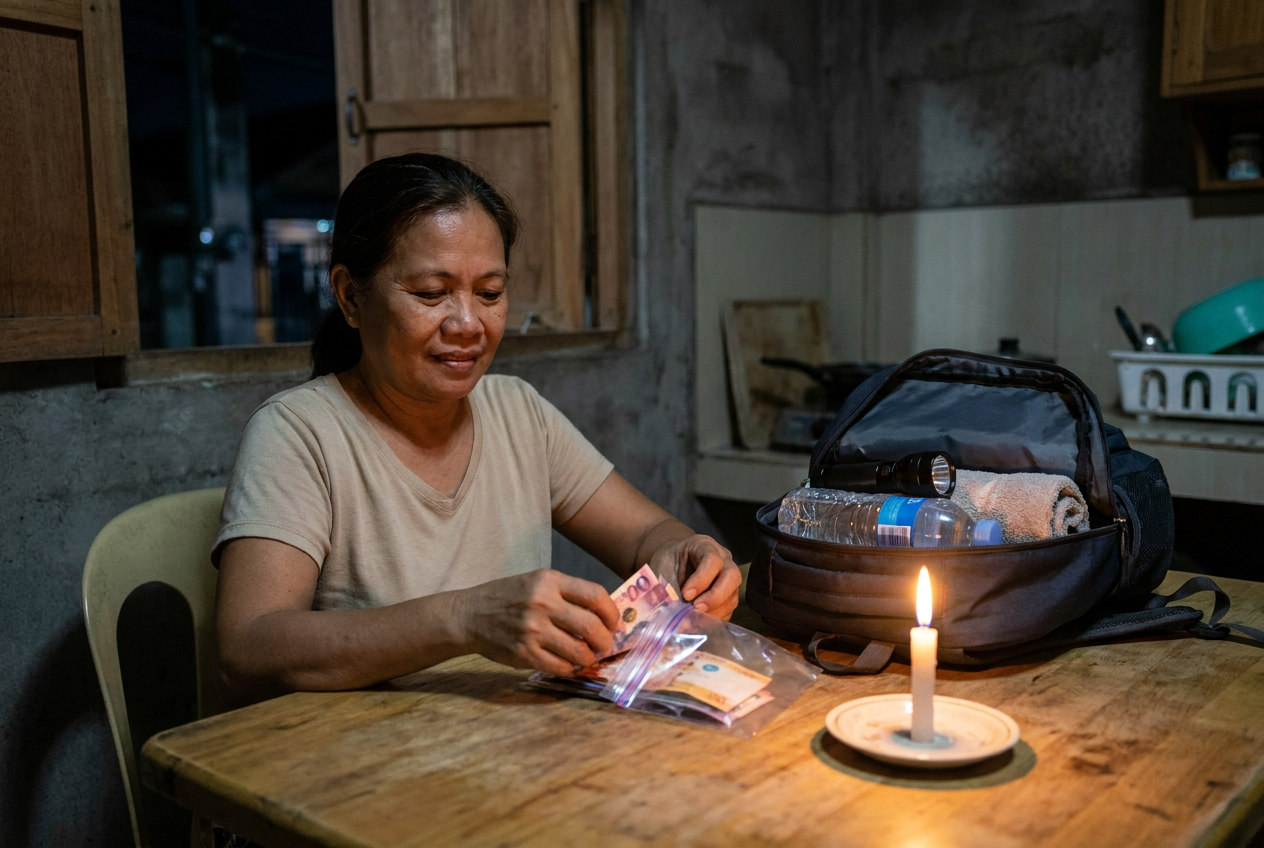
This is not about waterproofing the paper itself. For that, we’ve already written how to protect your IDs, land titles, cash, and medical records before a flood, and it’s worth doing both — the dry bag protects the original, this protects you if the original is lost anyway.
What you need
You don’t need anything fancy. Most of this costs nothing.
- A smartphone with a camera. That’s it for capturing documents. No scanner needed.
- A free cloud storage account. Google Drive (15GB free with any Gmail account) or Apple’s iCloud (5GB free, more if you already pay for storage) both work. If you’re an Android household, Google Drive is the simpler default. iPhone households already have iCloud running in the background.
- A second free cloud account or app as backup. I keep copies in two places, not one. Cloud services do go down, and so does your internet connection during a typhoon.
- An offline folder on your phone. A simple “Documents” folder in your phone’s gallery or files app, so you have access even with zero signal or data load.
- A trusted family member with their own copy. Someone outside your household if possible — a sibling in another city, a parent in the province — so a single flooded barangay doesn’t take out every copy at once.
- A password or PIN on the album/folder, since these files include IDs and financial details.
The method
Step 1: List what actually matters. Before you start photographing, make the list. In my experience, the documents people scramble for after a calamity fall into a short, predictable set:
- Government IDs (UMID, PhilSys/national ID, driver’s license, passport)
- Birth certificates and marriage certificate (PSA copies)
- Land title or deed, or lease/contract if renting
- Insurance policies (life, health, property)
- Medical records — prescriptions, vaccination records, existing condition documentation
- SSS, Pag-IBIG, and PhilHealth numbers and membership records
- Bank account details and passbook photos
- Barangay certificate of residency, if you have one
If it’s not on this list, it can probably wait. Don’t try to digitize your whole filing cabinet in one sitting — you won’t finish, and you’ll give up.
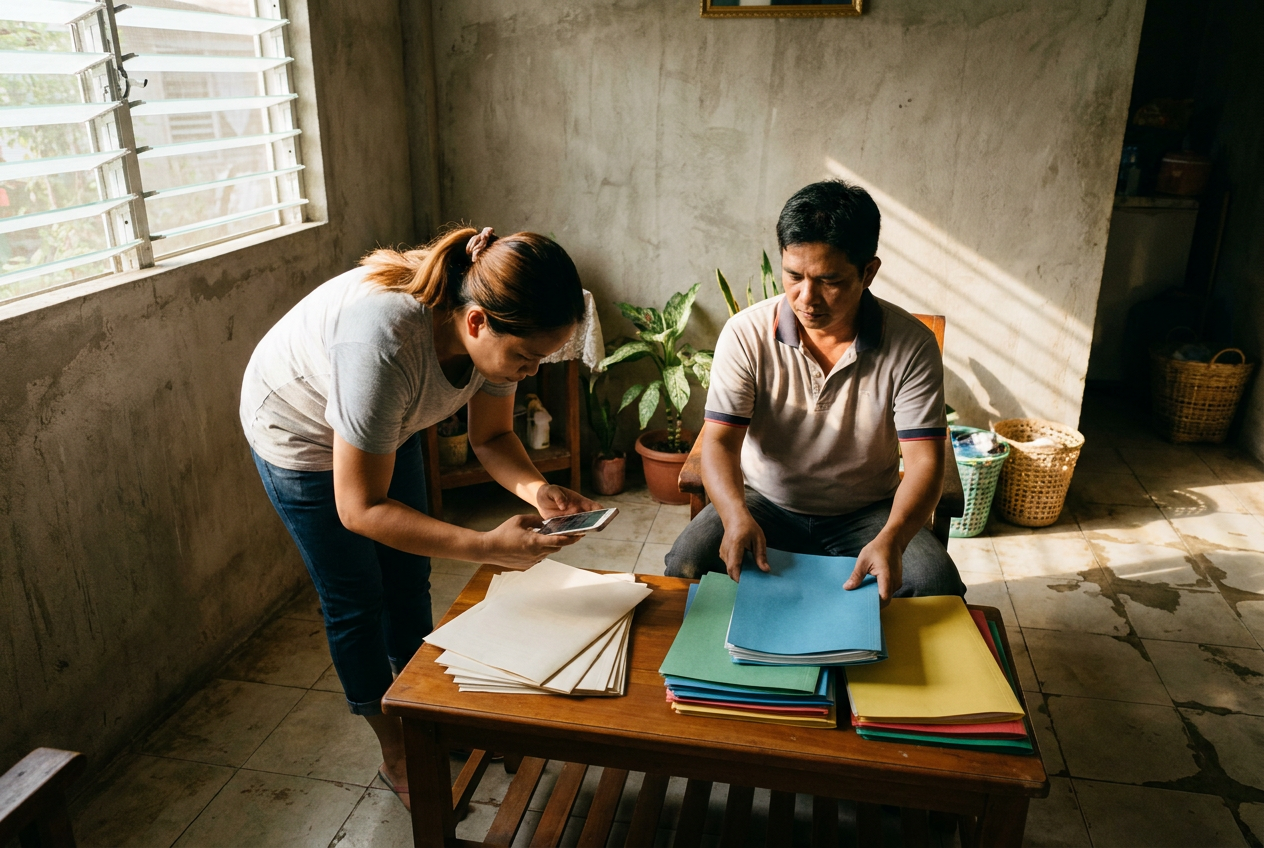
Step 2: Photograph each document properly. Flat surface, good light, no glare. Fill the frame with the document — don’t photograph it from across the table. Capture both sides if there’s writing on the back. Take a second photo if the first one is blurry; you won’t know until later, and by then the original may not be around to reshoot.
Step 3: Name the files so you can find them under pressure.
“IMG_4821.jpg” is useless when you’re stressed and typing on a cracked phone in a evacuation center. Rename files clearly: LastName_SSS_ID.jpg, LastName_LandTitle_Page1.jpg, LastName_PhilHealth_MDR.jpg. Future-you, exhausted and worried, will thank present-you.
Step 4: Upload to your primary cloud folder. Create one folder — call it “Family Documents” — and upload everything into it. Both Google Drive and iCloud let you do this straight from your phone’s photo app: select the photos, share, then choose “Save to Drive” or add to an iCloud album.
Step 5: Mirror it to a second location. Upload the same folder to a second free account, or export it as a password-protected PDF and email it to yourself. This isn’t overkill — it’s redundancy. A search-and-rescue team never trusts a single point of failure, and neither should your paperwork. If your Google account gets locked out or your data runs out at the worst possible time, the second copy is what saves you.
Step 6: Keep an offline copy on the phone itself. Cloud storage assumes you have internet. During a typhoon, you might not, for days. Keep the same folder saved locally on your phone (most gallery apps let you download cloud files back to the device) so you can open it with zero signal, just to show an ID to someone in person.
Step 7: Share access with one trusted person. Add a family member as a collaborator on the Google Drive folder, or share the iCloud album with them directly. Pick someone unlikely to be affected by the same flood or typhoon — not the neighbor three doors down, ideally someone in another city or province. If something happens to your phone, they can still pull up your documents and send them to you, or act on your behalf.
Step 8: Write down where everything is. On paper, or in a note your family member also has: which cloud accounts, which folder names, and the password (or how to get it). A vault nobody can open isn’t a vault, it’s a liability.
Variations & conditions
If you have very limited phone storage: prioritize the shortlist in Step 1, use a free cloud account instead of local storage, and delete photos from your camera roll once they’re safely uploaded and backed up in two places.
If your household shares one phone: photograph documents for every family member on that one phone, but split the sharing — send each adult’s set to that adult’s own account too, so no single lost phone locks everyone out.
If you’re renting, not a titleholder: your version of the “land title” is your lease contract and your latest utility bill or barangay certificate of residency — these are often what’s asked for as proof of address during calamity assistance processing.
If a typhoon is already approaching: don’t try to build the perfect system in the two hours before landfall. Photograph the shortlist, upload to whichever cloud app is already installed, and share with one person. A partial digital vault built today beats a perfect one you never finished.
Common mistakes
Treating the phone as the vault. A phone is not a backup — it’s a single device that can be lost, dropped in floodwater, or confiscated in an evacuation. The cloud copy and the shared copy are what actually protect you.
No password on sensitive folders. These files include ID numbers and financial details. A folder with no PIN is a gift to anyone who finds your phone unlocked.
Only telling one person, who then can’t be reached. Redundancy applies to people too. If the only person who knows where the files are lives in the same flooded area as you, that redundancy is worthless.
Letting “I’ll do it eventually” become never. This whole process takes under an hour for the core documents. Most people who regret not doing it, regret it during the exact week they had no time.
Forgetting the digital-cash side of the plan. A digital vault works best alongside a tiered cash strategy: keep some cash on hand (around ₱3,000), some in an e-wallet like GCash or Maya (around ₱5,000) that you can access even if ATMs are down, and the bulk in savings (around ₱20,000 or whatever your household can manage). Your GCash and Maya accounts are themselves worth a screenshot in your vault — account numbers, registered mobile number — so you can prove ownership if you need to recover access after losing a phone.
Which agencies actually accept digital copies
This matters, because there’s no point building a vault if nobody honors it. In practice:
- DSWD calamity assistance and relief processing has, in past disaster responses, accepted clear photos or scanned copies of IDs and PSA documents when originals were lost, especially during initial registration — local offices can vary, so confirm with your barangay or city social welfare office when the time comes.
- SSS members can access records and submit claims through the My.SSS online portal, and a digital copy of your UMID or registered ID is often enough to verify identity for online transactions, reducing your need for the physical card during a claim.
- Pag-IBIG Fund’s Virtual Pag-IBIG platform allows online loan and claims processing, and digital copies of your membership ID and supporting documents can support these where the physical copies are unavailable.
- PhilHealth accepts your Member Data Record (MDR), which you can generate and download again even if the physical copy is gone, as long as you know your PhilHealth number — another reason it belongs in your vault.
None of this replaces the actual original where the agency requires it for final processing. But a digital copy is very often what gets your claim started while you sort out the original, and starting early matters when everyone in the barangay is queuing for the same assistance at once.
How to practise safely
Set a reminder for the first Sunday of every year — or whenever your IDs are renewed — to review the vault. Documents expire, family members are born, insurance policies change. A vault built once and never touched is only as good as the day you built it.
Do a dry run: turn off your data, and try to open the offline folder on your phone. Ask your trusted family member to open the shared cloud folder and confirm they can actually see everything — permissions glitches are common and you want to find them now, not during an actual typhoon warning from PAGASA.
And once a year, actually delete and re-upload one document from scratch, timing yourself. If it takes you fifteen minutes with a calm mind and good WiFi, it will take you three times longer with shaking hands and a weak signal. Knowing that gap in advance is the whole point of practicing before you need it.