How to sharpen a kitchen knife at home (simple guide)
Learn how to sharpen a dull kitchen or utility knife at home using a stone or pull-through sharpener. Simple, low-cost steps for every Filipino household.
Why this matters
Almost every household I know has at least one knife that has quietly gone dull over the years. Nobody sharpens it because nobody was ever shown how, so it sits in the drawer getting worse, and everyone just pushes harder when they use it.
That push is the problem. A dull blade does not cut so much as it squashes and drags, which means you have to lean into it with more force and less control. More force on a slipping edge is exactly how kitchen cuts happen — the knife skates off a tomato or a chicken bone and goes into a thumb instead. A sharp blade, by contrast, goes where you point it with almost no pressure. Less force, less slipping, fewer accidents. Sharp is safer than dull. It sounds backward until you have actually felt the difference.
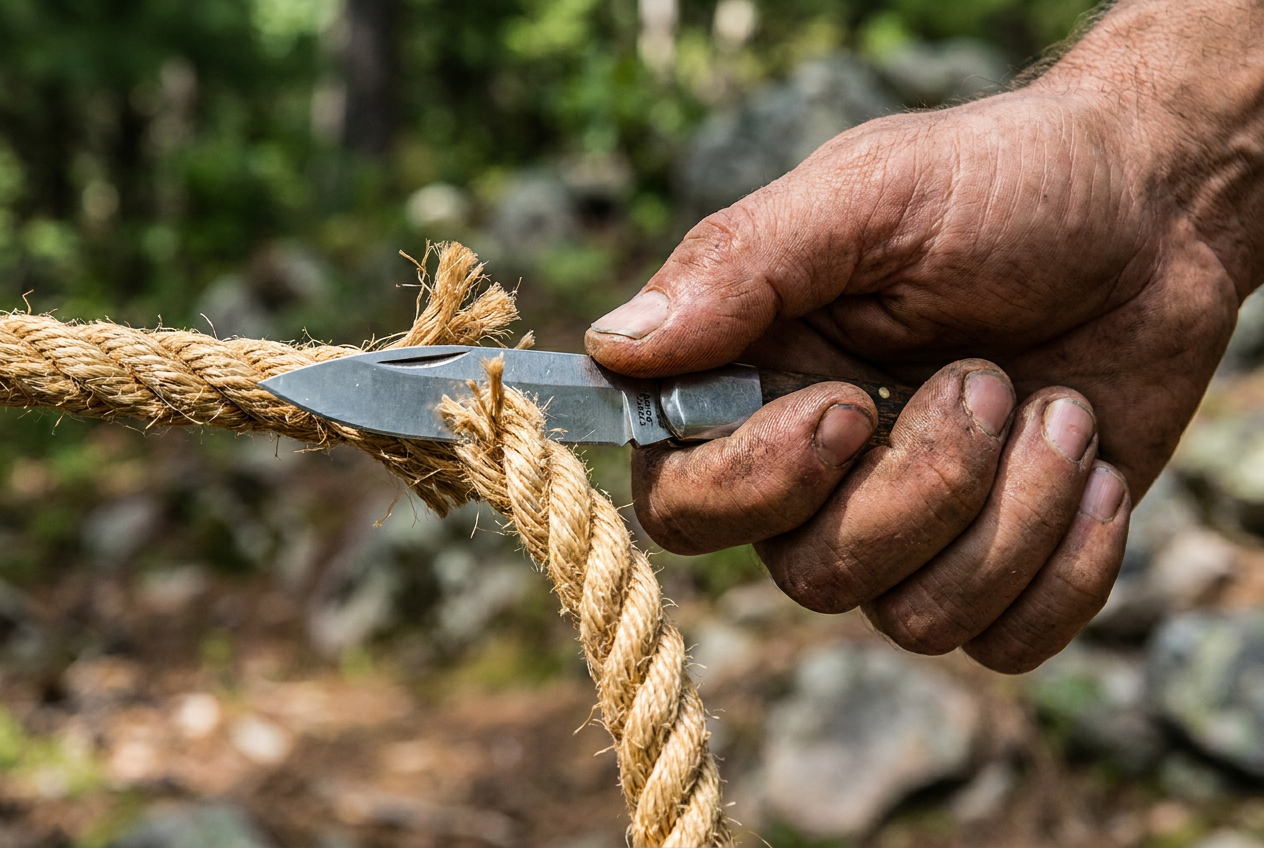
This matters outside the kitchen too. In a blackout or after a storm, a utility knife earns its keep cutting rope, tape, cardboard, and packaging strapping — the kind of tough, slippery material that turns a dull blade into a sawing, wrist-tiring chore. A knife that has to be sawed through packing tape is a knife that is one slip away from your hand. Keeping an edge on your knives is a small, boring habit that pays off both at the cutting board and when you are packing or unpacking a go bag in a hurry.
This guide is about technique only — how to actually put an edge back on a knife you already own, using cheap tools you can find here. If you are still deciding which pocket knife to buy, we cover that separately in our guide to pocket utility knives for everyday carry.
What you need
You do not need a professional setup. Pick one of these, in order of how forgiving they are for a first-timer:
- A pull-through sharpener. The kind with two or three slots in a plastic housing, each with fixed carbide or ceramic wheels. You pull the blade through a few times and it sets the angle for you. This is the easiest option for someone who has never sharpened anything — there is very little to get wrong. Downside: it removes more metal than a stone, and cheap ones with misaligned slots can actually scratch or chip a good blade rather than sharpen it.
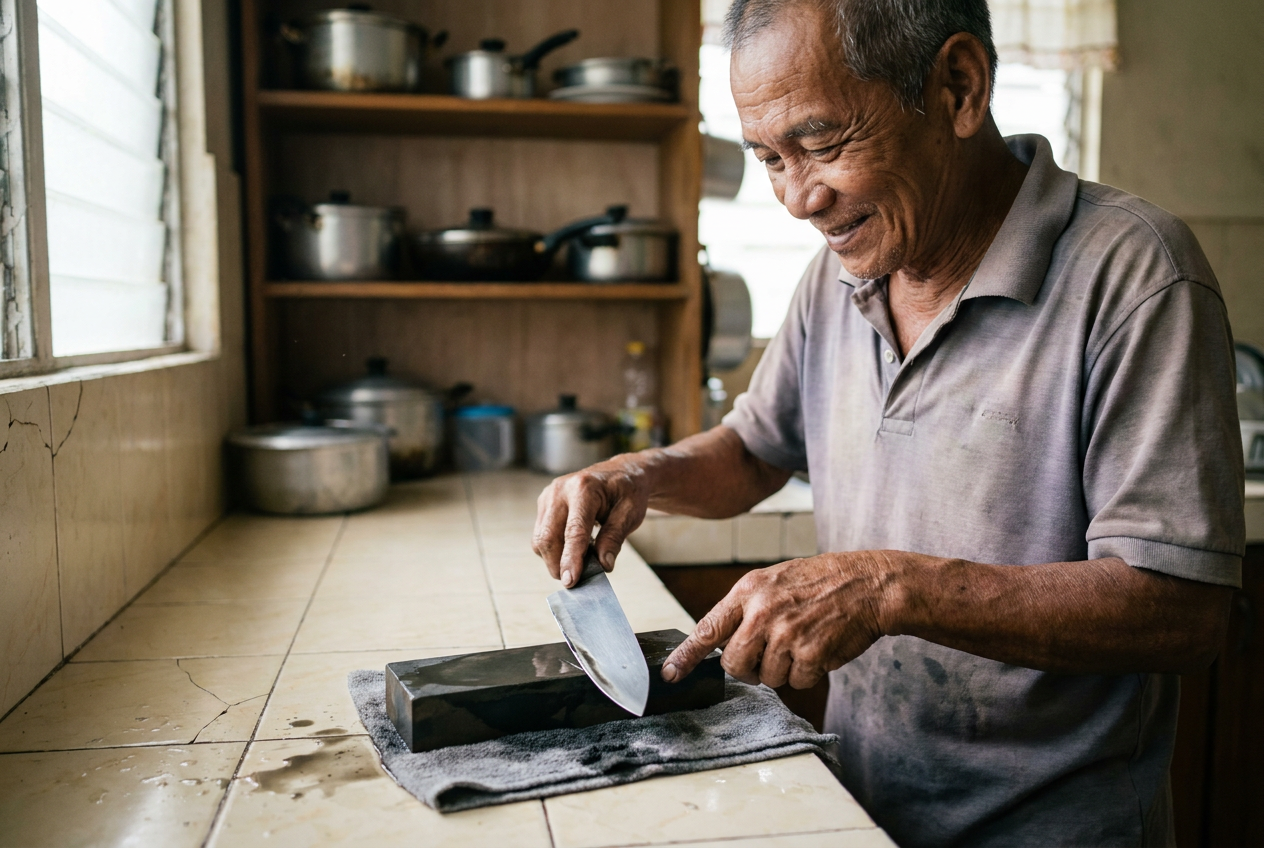
- A sharpening stone (whetstone), used with water. Slower to learn, but it gives you real control over the edge and works on any knife, including ones a pull-through cannot handle well, like curved boning knives. A basic combination stone with a coarse and a fine side, around ₱300 to ₱800 locally, will cover most household needs for years.
- The unglazed rim on the bottom of a ceramic plate or bowl. Turn a plate over and look at the ring it stands on — that rough, unglazed strip is abrasive enough to work as an emergency stone. It will not give you a fine edge, but it will take a knife from useless to usable when nothing else is around.
- A honing rod (steel). This does not sharpen a knife — it realigns the edge that sharpening already put there. Used regularly, a rod keeps a sharp knife sharp for much longer between real sharpenings.
None of these need to be expensive or imported. A decent pull-through or stone is a one-time purchase that will outlast several knives.
The method
Using a stone
- Wet the stone. Soak it in water for a few minutes if it is a water stone, or just splash water on it if it is a combination stone rated for that. This keeps metal dust from clogging the surface and keeps the blade from overheating.
- Find the angle. Most kitchen knives sit well at roughly 15 to 20 degrees off the stone — picture the blade tilted about the width of two stacked coins above flat. Utility and pocket knives are often closer to 20 to 25 degrees. You do not need a protractor; get it roughly right and keep it consistent, because consistency matters more than precision here.
- Draw the blade across, edge leading. Starting at the heel of the blade near the handle, pull it across the stone toward the tip, as if you were trying to shave a thin slice off the stone itself. Use light, even pressure — let the stone do the work, not your arm.
- Match the strokes on both sides. Do the same number of passes on each side of the blade, alternating, so you are not just pushing the edge over to one side.
- Move from coarse to fine. If your stone has two sides, start coarse to reshape the edge, then finish on the fine side to polish it smooth. Ten to fifteen passes per side per grit is usually enough for a knife that is dull but not damaged.
- Wipe the blade clean of metal dust and water before you test it.
Using a pull-through sharpener
- Choose the right slot. Coarse slot first if the knife is very dull or nicked, then the fine slot to finish. Skip straight to fine if the knife just needs freshening up.
- Hold the sharpener steady on a flat, stable surface, or against the edge of a counter, so it cannot slide around while you pull.
- Draw the knife through with light, steady pressure, heel to tip, in one smooth motion. Do not saw it back and forth inside the slot.
- Repeat three to five times per slot, checking progress between pulls rather than grinding away blindly.
- Finish on the fine slot and wipe the blade before testing.
Honing between sharpenings
Hold the rod tip-down on a folddown towel or against a counter for stability. Draw the blade down its length at roughly the same angle you would use on a stone, alternating sides, five or six light strokes per side. Do this before you cook, not after the knife has already gone dull — honing maintains an edge, it does not restore one.
Testing sharpness safely
Skip the trick of shaving arm hair or slicing paper in midair — both are easy to get wrong and both put an edge near your skin for no good reason. Instead:
- The paper test, on a table. Lay a sheet of paper on a flat surface and try to slice through it with light downward pressure, blade angled, hand well clear of the paper’s edge. A sharp knife bites in and cuts cleanly. A dull one bunches the paper up or slides over it.
- The fingernail test. Rest the edge lightly on a fingernail at a shallow angle and try to drag it down, without pressing. A sharp blade grabs and wants to bite in. A dull one skates across smoothly.
- The tomato test. If it slices into the skin of a ripe tomato under its own weight, with no sawing, it is sharp enough for kitchen work.
All three keep your fingers away from the edge’s path, which is the whole point.
Variations and conditions
A boning knife or curved utility blade is harder to sharpen on a flat pull-through because the curve does not sit evenly in the slot — a stone gives you more control here, letting you roll the blade slightly through the curve as you draw it.
A very neglected blade with visible chips or a rolled edge needs more coarse-grit work before it will take a fine edge at all; do not expect one pass to fix years of neglect. Serrated bread knives are a separate case and generally should not go on a flat stone or standard pull-through — they need a tapered rod worked into each individual notch, or are best left to a proper sharpening service.
Working by poor light or in a rush is where slips happen, sharpening or otherwise. If the power is out and you are sharpening by flashlight or candle, take it slower than usual and give the task your full attention rather than trying to hurry through it.
Common mistakes
- Sawing the blade back and forth on the stone instead of drawing it in one direction. This rounds the edge instead of sharpening it.
- Changing the angle stroke to stroke. An inconsistent angle is the single biggest reason home sharpening does not work — it is better to hold a slightly wrong angle steadily than to wobble around a correct one.
- Pressing too hard. More pressure does not mean a sharper edge; it just wears the stone unevenly and tires your hand. Let the abrasive do the work.
- Using a cheap, misaligned pull-through. If the slots are not square to the housing, the sharpener drags the edge sideways with every pull and can actually chip a blade that was merely dull going in. If a pull-through feels gritty, uneven, or leaves visible new scratches across the blade face rather than along the edge, stop and switch to a stone.
- Testing sharpness against your own skin. Save the fingertip test for after you already trust the edge, and even then, do it lightly.
- Cutting toward yourself, ever — whether you are sharpening, testing, or just using the knife afterward. Always cut away from your body and your other hand, on a stable surface, with nothing sliding underneath.
How often to sharpen
An average household knife used daily for food prep needs a real sharpening every two to three months, with honing before most uses in between. A utility or pocket knife used occasionally for tape, rope, and packaging needs it far less often — maybe twice a year — but check it before you actually need it for something urgent, not during.
Where to find sharpeners locally
Some sari-sari stores and hardware stores carry basic pull-through sharpeners cheaply, though the selection is hit or miss. For anything more specific — a proper combination stone, a honing rod, or a better pull-through — Lazada and Shopee both carry a wide range at reasonable prices. Read the reviews before buying: the most common complaint on ultra-cheap pull-throughs is exactly the misaligned-slot problem above, where the wheels are not set true and end up marking or chipping blades instead of sharpening them. Spending a little more for a sharpener with consistent reviews is usually worth it, since a bad one can do real damage to a knife you already like.
How to practise safely
Start on a knife you do not mind experimenting on — an old kitchen knife or a cheap utility blade, not the good one you use every day. Do a few sessions on the sacrificial knife until the motion of drawing the blade across the stone or through the sharpener feels natural and you can keep the angle steady without thinking hard about it.
Work at a table you can stand at comfortably, with good light, and keep your fingers behind the edge’s path at every step — while sharpening, while wiping the blade, and while testing it afterward. Go slowly the first several times. Speed comes on its own once the motion is familiar; there is no need to rush it, and rushing is where most small cuts happen. Once you are comfortable, sharpening stops being a chore you avoid and becomes a five-minute habit — one that keeps your knives doing what they are supposed to do, safely, whether that is dinner prep or cutting yourself free of packaging strapping in a hurry.