How to build a household first aid kit (Philippines)
Build a DIY Filipino household first aid kit: wound care, OTC meds, storage tips sized to your budget for typhoons, floods, dengue season, and daily
What you’ll be able to do — and why it matters
By the end of this guide, you will have a first aid kit that you built yourself, item by item, sized to your household and your budget — not a sealed box with supplies you can’t see or check. That matters more than it sounds like it should.
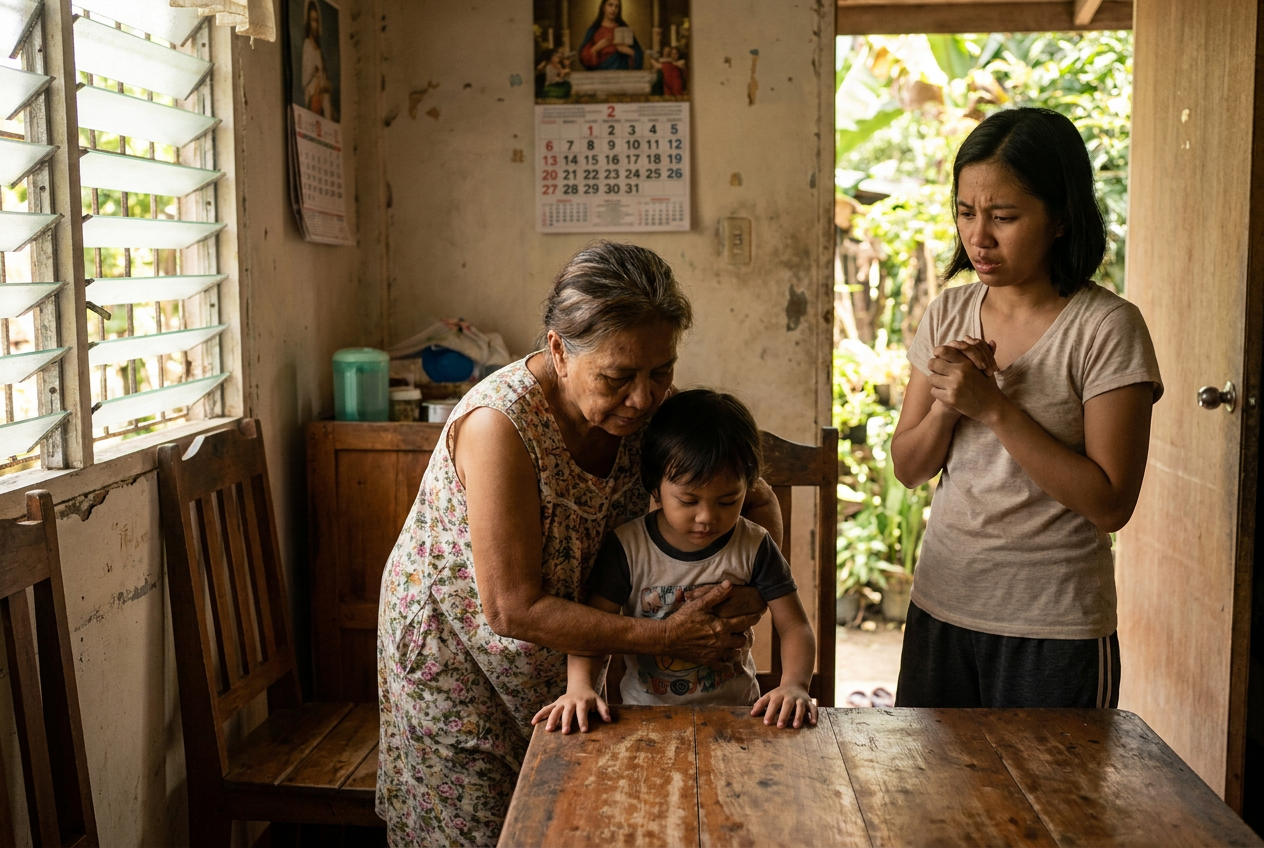
During Ondoy, during Ulysses, during whatever the next named storm turns out to be, the injuries that show up in a typical household are not dramatic. They’re the cut foot from wading through floodwater full of debris, the child’s scraped knee from tripping in a dark hallway during a brownout, the headache and body ache that comes with dengue season, the loose stool from drinking water you weren’t sure about. A good household kit handles all of that calmly, without a trip to the barangay health center for something small — and it tells you honestly when something is bigger than home care, so you go get help instead of guessing.
This is not a kit for surgery or serious trauma. If someone is bleeding heavily, unconscious, or having trouble breathing, you call 911 and you go to a hospital — no kit changes that. What follows is for the small, frequent, real things.
What you need
You don’t need a fancy pre-packaged box from a mall kiosk. Most of those are padded out with items you’ll never use and thin on the ones you will. Building your own means every peso goes toward something you’ll actually reach for.
Wound care basics:
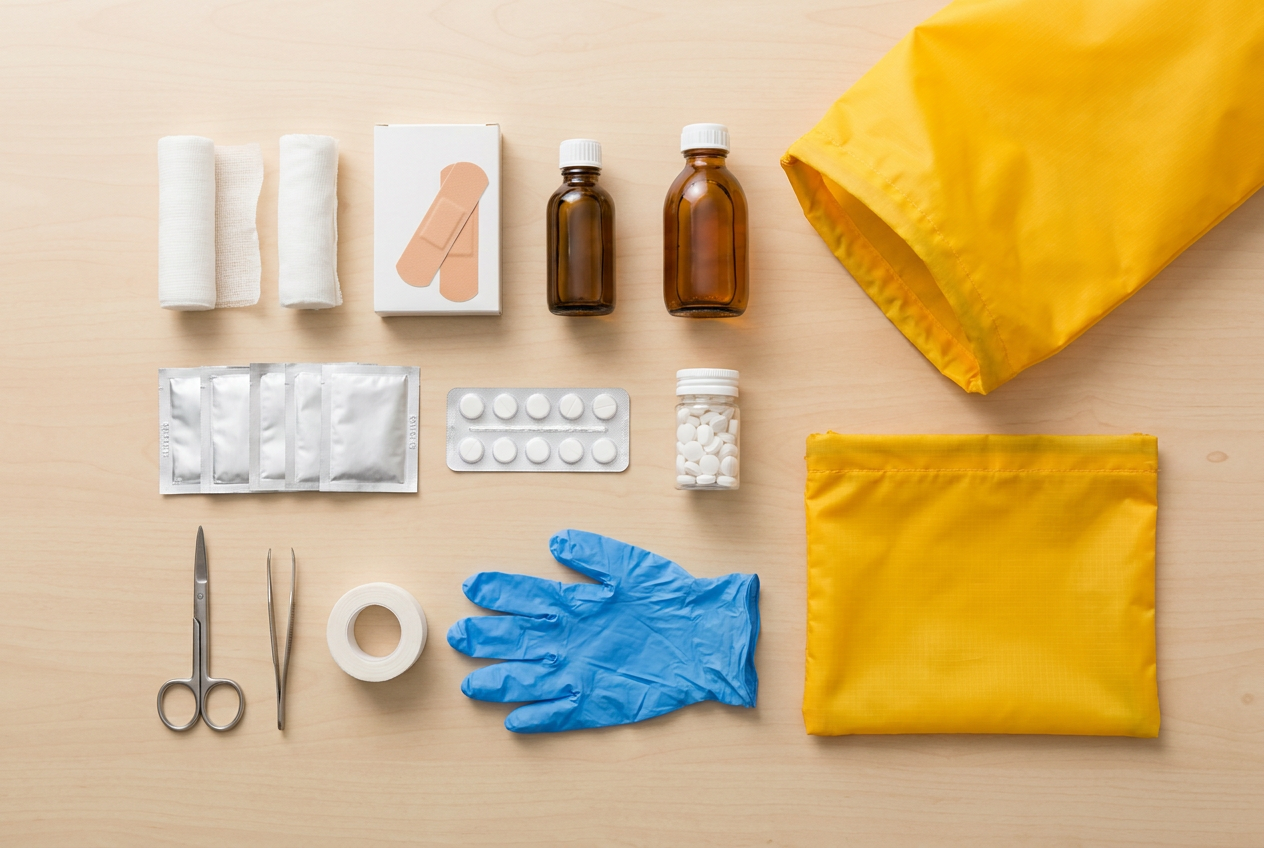
- Adhesive bandages (Band-Aid strips), assorted sizes — ₱50–₱120 for a box
- Sterile gauze pads, individually wrapped — ₱80–₱150 for a pack of 10
- A rolled gauze bandage or two, for wrapping — ₱40–₱60 each
- Medical tape (micropore or paper tape is gentler on skin than plain masking tape) — ₱60–₱100
- Small first-aid scissors — ₱80–₱150
- Tweezers, for splinters and debris — ₱50–₱100
- Clean water or saline solution, for flushing the wound itself — this is the main wound-cleaning step, and it’s the one people skip because it seems too simple
- Isopropyl alcohol or alcohol-based sanitizer — this is for disinfecting skin around a wound, your hands, or your scissors and tweezers before you use them. Don’t pour it into or onto an open wound. It stings, it damages the tissue trying to heal, and current Department of Health and Philippine Red Cross first-aid guidance favors clean water or saline for the wound itself, with alcohol kept for surfaces and skin around it. — ₱40–₱90 for a bottle
- Povidone-iodine solution, for the skin around a cleaned wound, applied thinly — ₱60–₱150. Some people are allergic to iodine, and it isn’t recommended for people with certain thyroid conditions. If anyone in the house has a known iodine allergy, skip it and stick to clean water and a plain antiseptic your pharmacist recommends instead.
- Disposable sterile gloves, a small box — ₱100–₱200
A general note on tape and adhesives: if anyone in the house has ever reacted to a Band-Aid or medical tape with redness or itching, keep a small roll of gauze-and-non-adhesive-pad setup as a backup, since paper tape can still irritate sensitive skin.
Burn care, because it comes up more than people expect: candles and gas stoves during a brownout, hot water, cooking oil — household burns are common and the first-aid answer is almost always the same: cool running water over the burn for about twenty minutes, nothing else. Not ice, not toothpaste, not butter — those old home remedies trap heat or introduce dirt into a wound and can make it worse. Cover loosely with a clean, non-stick dressing afterward and seek care if the burn is larger than the person’s palm, deep, or on the face, hands, or groin.
Medications — general household use only; ask your pharmacist which ones suit each person:
- Paracetamol, for fever and pain
- Oral rehydration salts (ORS), for diarrhea or heat-related fluid loss — sachets are cheap and light, ₱10–₱20 each. Mix exactly as printed on the sachet with clean, boiled-and-cooled or bottled water; don’t guess the ratio. For a baby, young child, or anyone with diarrhea that doesn’t ease up after a day or so, or that comes with high fever or blood, ORS buys you time on the way to care — it isn’t a reason to delay it.
- An antihistamine, for allergic reactions and itching
- An antacid, for stomach upset
I’m not going to give you doses here, and neither should any first aid article. Doses depend on age, weight, existing conditions, and what else the person is taking. Read the label, ask your pharmacist at Watsons, Mercury Drug, or your nearest Botika ng Barangay when you buy — Botika ng Barangay outlets carry generic versions of most of these at a noticeably lower price, which matters if you’re stocking a kit on a tight budget — or check with your doctor or the Department of Health. If anyone in the house has a chronic condition needing daily medication — maintenance drugs, insulin — that’s a separate kit with its own storage rules, not part of this one.
A hotline and information card: a small laminated card with the nearest hospital, the barangay health center number, the Philippine Red Cross hotline, and each household member’s allergies and maintenance medications, taped to the inside lid of the kit. It costs nothing and it’s the thing you don’t want to be hunting for on your phone with shaking hands.
Container: A dry bag or a hard-shell waterproof box, big enough to hold everything with room to spare. This is the one item people skip and shouldn’t. A first aid kit that has been sitting through a flood in a soaked cardboard box is not a first aid kit anymore — it’s wet paper and ruined tape. A basic dry bag runs ₱200–₱500 on Shopee; a hard waterproof case with a rubber seal runs ₱400–₱900.
All told, a complete kit built this way lands somewhere between ₱500 for the bare essentials and ₱2,500 for a well-stocked version with extras like a spare set of gloves, a second roll of gauze, and a proper case. You don’t need to buy it all in one trip. Build it over two or three paydays if that’s easier.
The method
Step 1: Start with the container. Pick the dry bag or waterproof box first, because it sets your size limit. Buying supplies before you have somewhere waterproof to put them just means you’ll be repacking twice.
Step 2: Build the wound-care layer first. This is what you’ll use most often — small cuts, scrapes, blisters. Pack gauze, tape, bandages, gloves, scissors, and tweezers together in a resealable bag inside the container, so they don’t shift and tangle.
Step 3: Add the cleaning agents, each in its own containment. Clean water or saline, alcohol, and povidone-iodine each go in their own separate small pouch or zip-lock bag, upright if possible, so a leak doesn’t ruin the gauze sitting next to it. I’ve had a bottle crack in a bag before — not this kind of kit, but the lesson stuck. Keep them apart from each other too: alcohol and povidone-iodine shouldn’t be applied together on the same wound, and there’s no reason to mix them in storage either.
Step 4: Add the medications, still in their original boxes with the leaflet inside. Don’t decant pills into unlabeled containers — you want the dosing information and expiry date on hand, not memorized.
Step 5: Tape in the information card, and label the outside of the container with a marker: “FIRST AID” and the date you assembled or last checked it. This sounds unnecessary until it’s 2 a.m. during a brownout and someone else in the house is looking for it by flashlight.
Step 6: Do a final check — everything fits, the container seals properly, and nothing is loose enough to rattle apart in the bag during a move.
Variations & conditions
A kit that lives in a house on a low-lying street near a creek needs to survive actual submersion, not just rain. Spend the extra ₱200–₱300 for a proper hard case with a gasket seal rather than a basic roll-top dry bag, and check Project NOAH or HazardHunterPH for your area’s flood exposure so you know how seriously to take this.
A household with small children needs a second, smaller version of the wound-care layer kept somewhere they genuinely cannot reach — a top shelf, a locked drawer — because kids find bandages fun to unwrap and antiseptic to spill. Keep the main kit adult-accessible but out of a toddler’s reach.
If someone in the house is elderly or has mobility issues, think about where the kit sits relative to where they usually are. A kit on the third floor does no good for someone who spends the storm on the ground floor because the lift is out.
For a go-bag version — the kit that leaves the house with you if you evacuate — pack a smaller, lighter subset: bandages, a few gauze pads, tape, one small bottle of saline or clean water, one small antiseptic, and the information card with medications and allergies written on it. Full detail on building that bag is in our go bag guide.
Common mistakes
Buying a sealed pre-made kit and never opening it. You need to know what’s inside and where, before the night you need it in the dark.
Storing it somewhere that floods. A first aid kit under the sink in a house that floods every wet season defeats its own purpose. Check your flood ready plan and store the kit above the water line your area has actually seen, not the line you hope it stays under.
Using alcohol on an open wound. It’s a habit a lot of us grew up with, but it isn’t the current guidance, and it isn’t kind to the tissue that’s trying to heal. Flush the wound with clean water or saline, and save the alcohol for skin around it, your hands, or your instruments.
Letting supplies expire quietly. Alcohol, povidone-iodine, and medications all have shelf lives, and this is one place not to gamble. Past its expiry date, an antiseptic can lose enough potency that it no longer disinfects reliably, which defeats the point of having it in the kit at all — and an expired medication may lose potency or, in rare cases, degrade into something you don’t want to take. Check dates on a schedule (see below) and replace anything past its date rather than hoping it’s still fine.
Skipping the gloves. They feel like the least important item until you’re the one cleaning someone else’s wound with bare hands.
Not checking for allergies before you need to. Iodine and adhesive tape are the two most common household reactions. Know before an emergency, not during one.
Treating this as a substitute for real medical care. A first aid kit buys you time and comfort for small injuries. It does not replace a hospital, a doctor, or a call to the Philippine Red Cross or your barangay health center for anything serious.
How to practise safely
Twice a year — a natural rhythm is at the start of typhoon season and again around the new year — sit down with the kit and go through it item by item. Check expiry dates on the medications and the antiseptics, and set aside anything within a few months of expiring to use up in normal life rather than let it lapse unused. Replace what’s gone or expired. This takes fifteen minutes and it is the single habit that keeps a kit useful instead of decorative.
Practice actually using the supplies before you need them under pressure — not on a real wound, just the motions. Open a gauze packet, tear a strip of tape, put on a glove one-handed. It sounds small, but fumbling with unfamiliar packaging in the dark during a brownout is a real and avoidable problem. The households that stay calm during an emergency are usually the ones where the gear isn’t a mystery.
And once the kit is built, walk every adult in the house through where it lives and what’s in it. A first aid kit that only one person knows how to find is a first aid kit that works half the time.
Galing Gear shares general preparedness and first aid information based on sources such as the DOH, WHO and the Philippine Red Cross. It is not a diagnosis or prescription, and it does not replace a doctor, nurse, pharmacist or trained responder. We never give medicine doses. Follow the latest advice of the DOH, your local health office and your medicine’s label. In an emergency, call 911. Philippine Red Cross: 143. Mental health crisis (NCMH): 1553 (landline). When unsure, get checked.