How to size a solar panel setup for your Philippine home or condo
A plain-language guide to working out how much solar panel capacity a Filipino household actually needs, covering wattage math, portable versus fixed setups, condo and HOA rules, and avoiding mislabeled panels.
What you’ll be able to do, and why it matters
By the end of this guide, you’ll know roughly how many watts of panel you need, not just whatever’s on sale. Panels are the part of a backup power setup people most often get wrong, because they skip the math and buy on vibes.
A panel on its own doesn’t power anything. It charges a battery, usually through a charge controller or inverter, when the sun is out. So “sizing a solar setup” really means answering one question: how many watt-hours does your household use during an outage?
The second half of that question is how many of those watt-hours a panel can realistically replace in a day of Metro Manila sun. Get both answers right, and battery size, inverter size and wiring fall into place after.
This guide covers the panel side only. Inverters and batteries are their own decisions with their own trade-offs, worth a separate guide each.
What you need
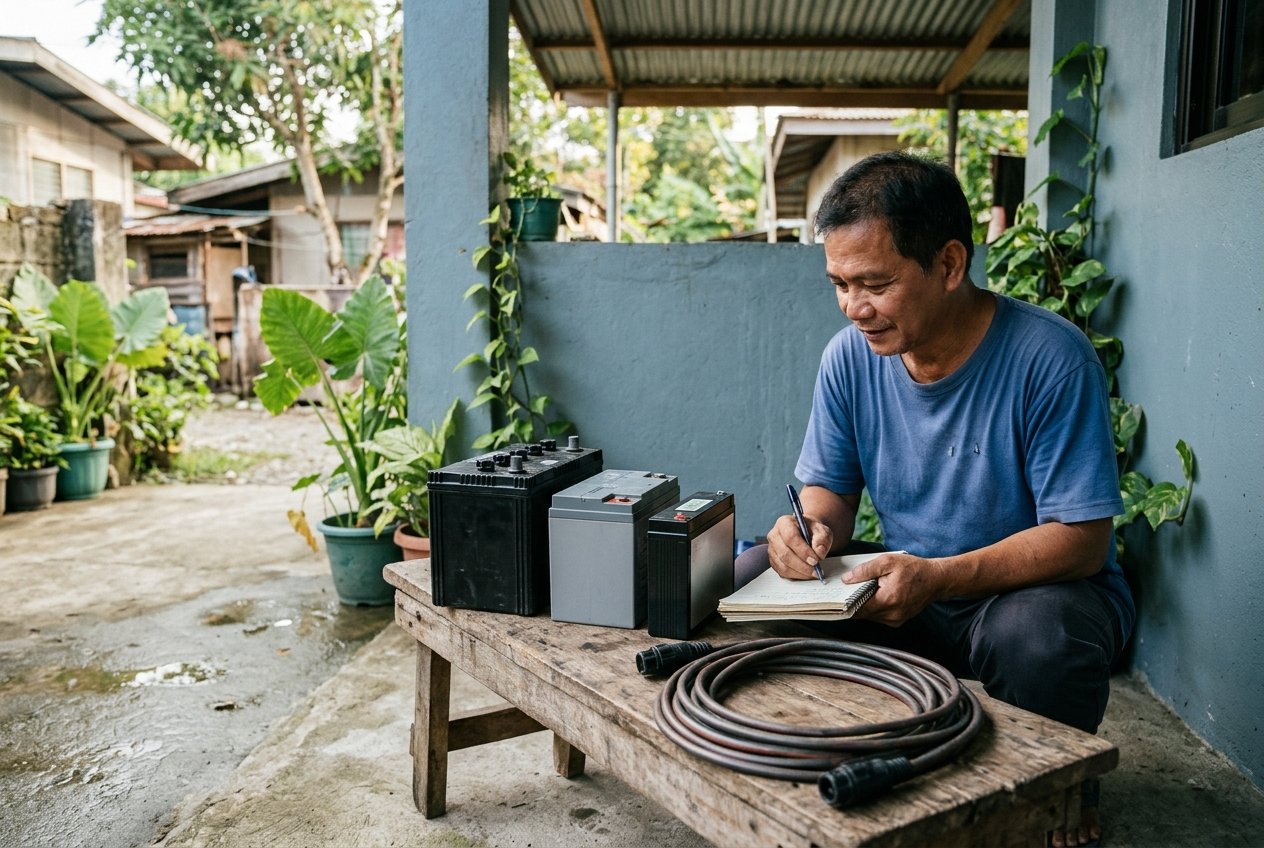
- A list of what you want to power during a brownout: lights, fans, router, phones, maybe a small fridge or a CPAP machine.
- A basic kilowatt-hour meter or just the wattage printed on each appliance’s label (look for “W” near the plug or in the manual).
- A calculator or notes app. A pen and paper work fine too.
- A sense of your available space: balcony, car porch roof, garden, rooftop deck, or none at all.
- If you live in a condo or subdivision with a homeowners’ association: your HOA or condo-board rules on exterior alterations.
You don’t need to have picked a battery or inverter yet. Panel sizing comes first because it tells you how big those need to be.
The method
Step 1: List what you need to run, and for how long.
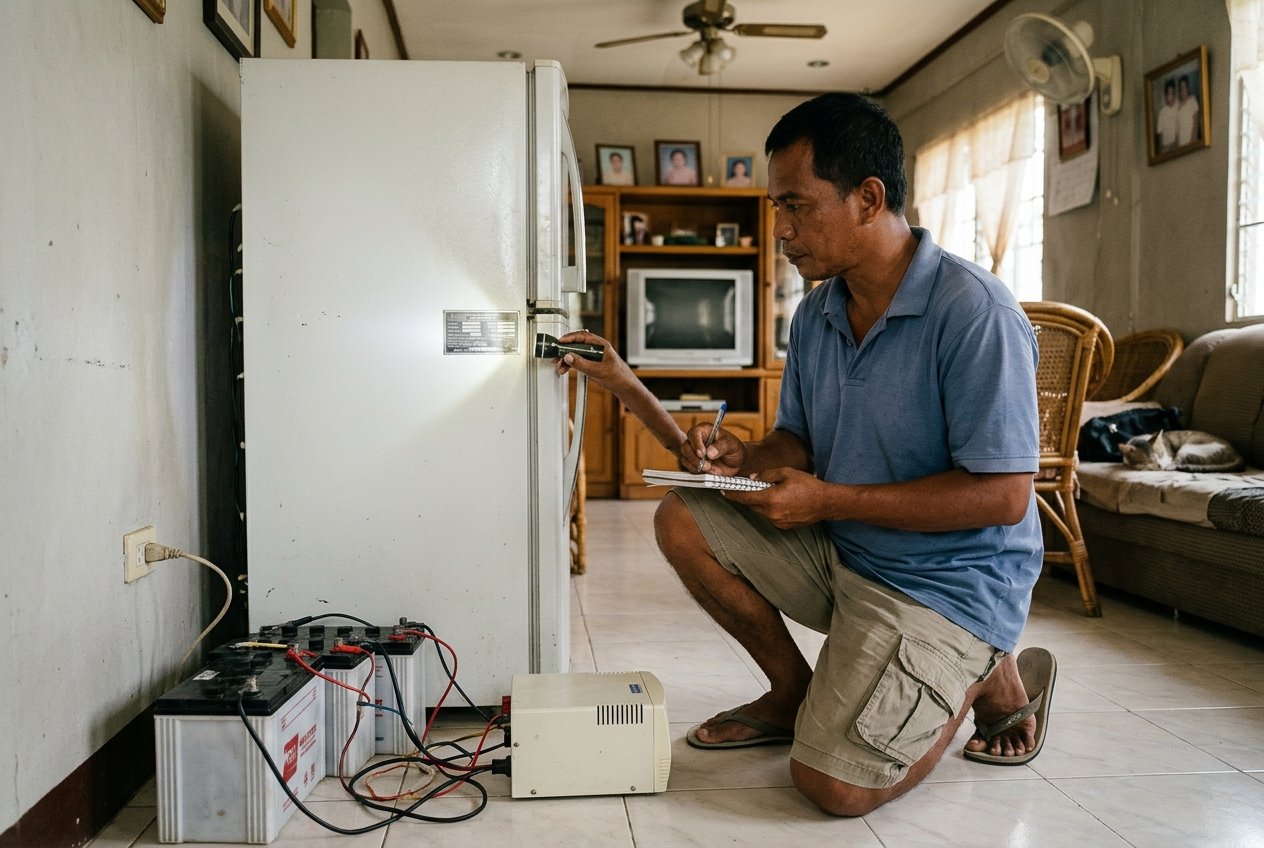
Write down each device and its wattage, then estimate hours of use per day during an outage. A phone charger might be 10 watts for 2 hours. A box fan might be 50 watts for 6 hours.
An electric fan, a router, a few LED bulbs and phone charging together might come to around 150 to 300 watts of combined draw, used on and off through the day.
Multiply watts by hours to get watt-hours (Wh), then add them up. A household running lights, fans, a router and phone charging for a day might land around 1,000 to 1,500 Wh.
A bigger ask, like a small fridge running most of the day, can push that past 2,000 to 3,000 Wh. This total is your daily energy budget, not your panel size yet.
Step 2: Translate your daily budget into panel wattage.
A panel’s rated wattage (say, 100W or 200W) is its output under ideal lab conditions, not what it produces all day. Solar planners use a rough measure called “full sun hours”: the number of hours of ideal, straight-on sunlight it would take to produce a day’s actual output.
For most of the Philippines, a commonly cited estimate is around 3.5 to 4.5 full sun hours a day on average across the year, lower during the habagat season and on overcast days. Treat it as a planning approximation, not a guarantee, since cloud cover, haze and panel angle all change it day to day.
So a 100W panel might realistically produce roughly 350 to 450 Wh on an average day, not 2,400 Wh (100W x 24 hours). To cover a 1,200 Wh daily need, you’d want somewhere around 300 to 400W of panel capacity, more if your roof gets partial shade or you’re often under cloud cover.
Step 3: Decide between a portable panel kit and a fixed rooftop setup.
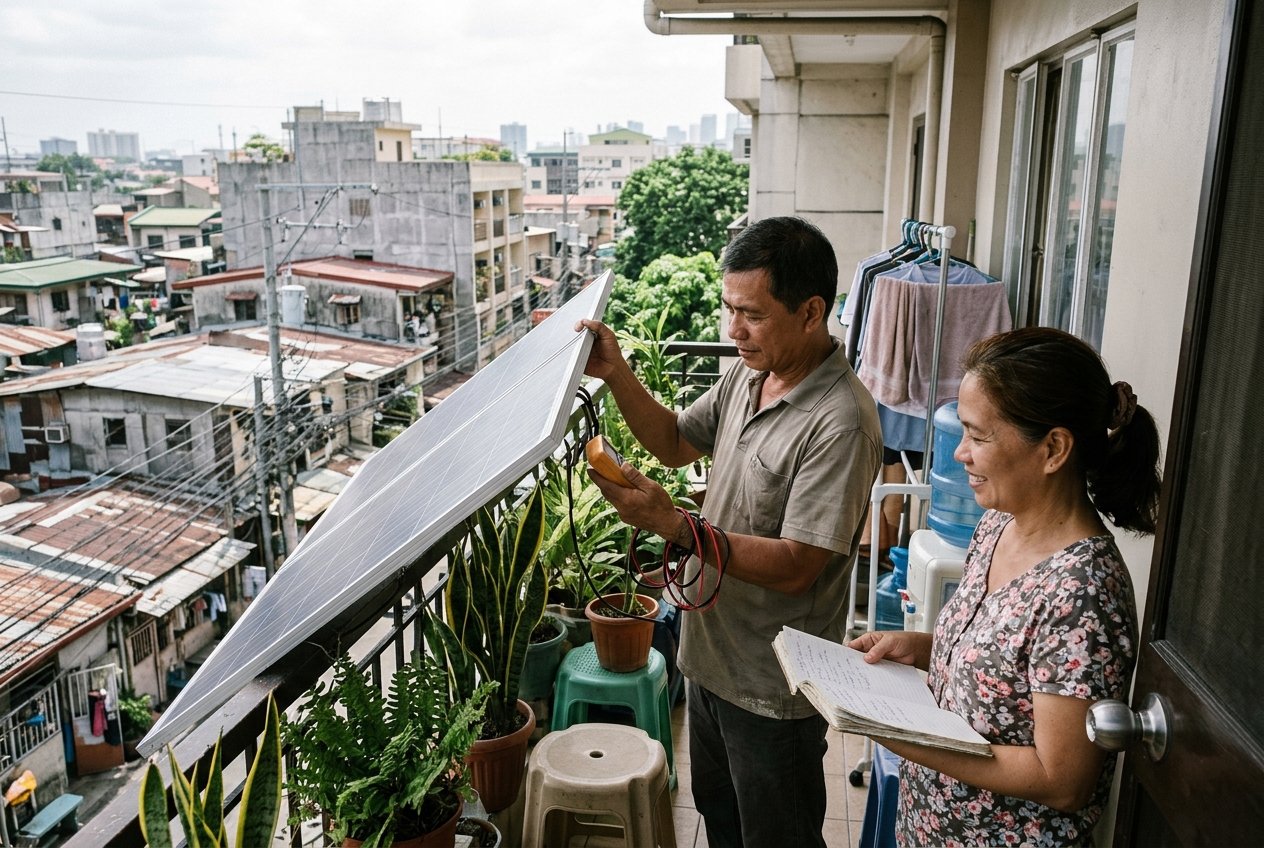
Portable folding panels (commonly 60W to 200W) are the easier entry point. You angle them toward the sun manually, move them with the weather, and store them indoors when not in use. They suit condo balconies, renters, and anyone who isn’t ready to drill into a roof.
Fixed rooftop panels are bolted down, wired permanently, and usually larger (300W and up per panel). They need mounting hardware, a clear structural plan and, in most subdivisions and condos, written permission before installation. They produce more power per square meter over time because they stay correctly angled, but they’re a bigger commitment.
If you’re unsure which fits your household, start portable. You can always add fixed panels later once you know how much backup power you actually use.
Step 4: Check your space against the panel count you need.
A rough rule of thumb: a 100W panel needs about 0.6 to 0.8 square meters of unshaded space. If step 2 says you need 400W, you’re looking for roughly 2.5 to 3 square meters of consistent sun, ideally between late morning and mid-afternoon.
Walk your space at different times of day. A balcony that looks sunny at 9 a.m. may be in a building’s shadow by 2 p.m. Shade from the unit above, nearby high-rises, or even your own laundry lines all cut output.
Step 5: Check HOA or condo-board rules before you buy anything fixed.
Many Metro Manila condo buildings restrict anything visible from outside the unit, including items on balconies or common-area rooftops. Subdivisions with a homeowners’ association often have similar rules on roof alterations or anything bolted to a shared structure.
Ask your admin office or HOA board in writing before planning a fixed install. Rules and approval processes vary by building and association, so don’t assume what worked for a neighbor applies to you.
A portable kit used indoors or on a private balcony usually avoids this issue entirely, since nothing is permanently attached.
Step 6: Buy from a source where wattage claims are checkable.
Panels are sold on Lazada, Shopee, and at hardware and electrical supply stores. Listings sometimes advertise a wattage well above what the panel actually delivers, especially with off-brand listings that reuse generic product photos. Before buying:
- Check the panel’s physical dimensions against its claimed wattage. A typical rigid monocrystalline 100W panel is roughly 100 cm by 70 cm. A panel much smaller than that claiming 300W is a red flag.
- Look for a datasheet or spec sheet, not just a listing description.
- Read seller ratings and recent buyer photos, not just the star count, for signs the product matches the listing.
- Favor sellers who name the actual solar cell brand or panel manufacturer, not just “solar panel 300W” with no other detail.
If a panel seems too cheap for its claimed wattage, it probably is.
Variations & conditions
Renters and small condo units. A single 100W to 200W portable panel, angled on a balcony or brought outside during the day, is often enough to keep phones, a fan and small lights running during short outages. It’s not meant to run a fridge or aircon.
Houses with rooftop or garden space. Fixed panel arrays of 300W to 1,000W give more consistent daily output and suit households planning for longer outages or wanting to offset daytime grid use as well. This is a bigger investment and usually needs an electrician or solar installer for the mounting and wiring.
High-rise condos with no usable outdoor space. If there’s genuinely nowhere to place a panel with direct sun, solar may not be the right backup tool for you. A battery power station charged from the grid before expected outages, or a reliable power bank for phones, may serve you better. Solar only helps if it can see the sun.
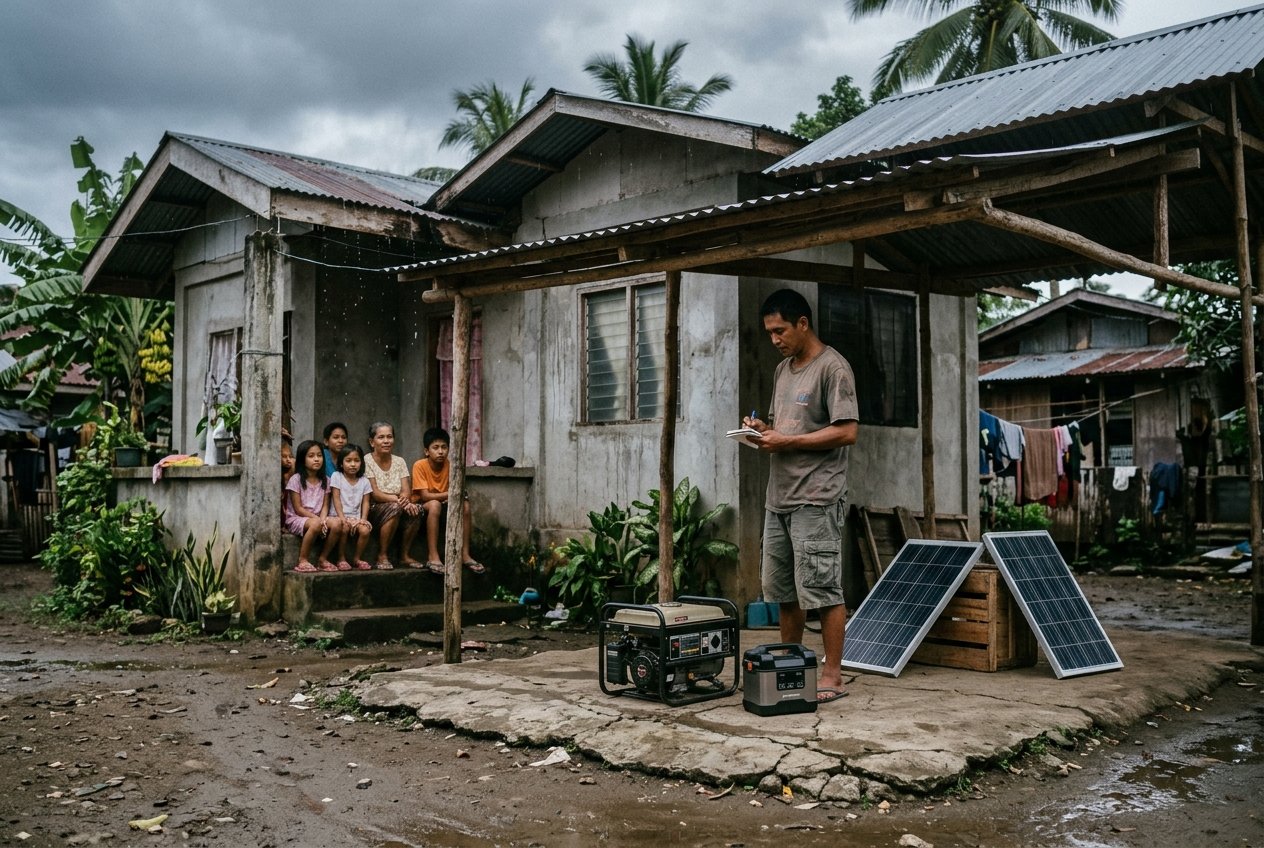
Typhoon season and habagat months. Expect lower output on overcast days, sometimes half of a clear-day estimate. Size with some buffer if you’re relying on solar through the rainy season.
Don’t treat a solar setup as your only plan during a storm. Check PAGASA for current weather outlooks before counting on a sunny recharge day.
Common mistakes
- Buying panel wattage without knowing your actual load. A 300W panel is wasted if your household only needs 150 Wh a day, and useless if you actually need 1,500 Wh.
- Trusting rated watts as daily output. A panel’s label watts and its real daily watt-hours are different numbers. Confusing them leads to a setup that disappoints on day one.
- Skipping the HOA or condo-board conversation. Installing a fixed panel without approval can mean being asked to remove it, at cost to you.
- Ignoring shade patterns. A spot that’s sunny in the morning photo you took isn’t necessarily sunny all day.
- Buying the cheapest listing without checking the spec sheet. Mislabeled wattage is a real risk on marketplace listings; a panel that under-delivers quietly costs you more than one that’s honestly priced.
How to practise safely
Before you need it, test your portable panel on a normal sunny day, not during an actual outage. Set it up where you plan to use it, connect it to a battery or power bank, and note how much charge it actually delivers over a few hours.
Do this again on an overcast day. The gap between your sunny-day and cloudy-day numbers tells you how much buffer to build into your real plan.
Keep connectors dry and covered when you’re not actively charging, and don’t connect or disconnect panel wiring while it’s raining or the panel is wet. Water and electrical connections don’t mix, even at the low voltages typical of small solar setups.
If you’re considering a fixed rooftop install, ask your HOA or condo admin for their documented process now, even before you’ve chosen a panel. Knowing the approval timeline in advance means you’re not caught improvising mid-typhoon-season.
The one thing to remember
Size your panel to the watt-hours your household actually needs in a day, not to the biggest number on a marketplace listing. Everything else, portable or fixed, battery or inverter, follows from getting that one number right.
Galing Gear shares general preparedness and first aid information based on sources such as the DOH, WHO and the Philippine Red Cross. It is not a diagnosis or prescription, and it does not replace a doctor, nurse, pharmacist or trained responder. We never give medicine doses. Follow the latest advice of the DOH, your local health office and your medicine’s label. In an emergency, call 911. Philippine Red Cross: 143. Mental health crisis (NCMH): 1553 (landline). When unsure, get checked.
Free downloads
From the series: Going Off-Grid: A Filipino Household's Guide to Backup Power