Safe meat and fish drying for emergency food stores
Safe tapa, tuyo, and jerky drying for Filipino emergency food stores — exact salt ratios, temperature targets, and humidity risks to avoid.
What you’ll be able to do — and why it matters
When the brownout stretches past a day and the freezer starts to sweat, the meat and fish in there are on borrowed time. Dried protein — tapa, tuyo, danggit, or a simple jerky — doesn’t need a fridge, doesn’t need power, and packs flat into a pantry shelf or a go bag. That’s the appeal. A few hundred grams of properly dried, properly salted meat or fish can carry a family through several meals when the stove is a camping burner and the market is closed because the streets are flooded.
But I want to be straight with you before anything else: drying meat and fish safely is not the same skill as drying mangoes or malunggay leaves. Plant food is mostly forgiving. Meat and fish are not. Get the salt, the acid, or the heat wrong, and instead of emergency food you’ve made something that can put your family in a hospital bed during the exact week you can’t easily get to one. This guide is about doing it the way that keeps you safe, not the fastest way or the most “traditional” way. Where I ask you to be stricter than your lola was, it’s for a reason — and the numbers below are not my house rules. They come from published USDA meat-safety guidance on jerky, which is the most specific, tested source available and one that Philippine food-safety literature broadly echoes. If you want to check them yourself against current local advice, the Department of Health publishes food-safety guidance directly.
This guide covers curing and drying meat and fish for storage. It doesn’t cover drying vegetables or fruit (different risks, different rules), and it doesn’t cover long-term packaging and storage life in detail — that’s its own article. Read this one as the “how to dry it safely” half, not the whole picture.
What you need
You don’t need much equipment, but what you use matters more than it does for jerky recipes you see online from drier countries.
- Fresh, cold meat or fish to start. Lean beef (for tapa-style jerky), or small fish like tamban, tunsoy, or bisugo (for tuyo and danggit-style drying). Fat spoils faster than lean meat, so trim it hard.
- Salt — measured, not “by feel.” For tapa, a working cure ratio is about 40–50 grams of salt per kilogram of sliced beef (roughly 3 to 3.5 tablespoons per kilo), dissolved into the vinegar mix so it distributes evenly. For tuyo or danggit, a strong brine is about 200 grams of salt per liter of water (a 20 percent brine, which will float a raw egg) — this is deliberately salty, and that’s the point. Salt is the main thing stopping bacteria from getting a foothold, so this is not the place to go light because you’re watching your sodium. Rock salt or ordinary iodized table salt both work fine for home curing at these levels; the iodine doesn’t meaningfully affect safety or flavor at the concentrations used here. Just avoid salt blends with added anti-caking silicates marketed for non-food use.
- Vinegar and/or calamansi for the tapa-style cure — the acid adds a second layer of protection on top of the salt, plus the flavor most of us grew up with. A rough working mix for a kilo of beef: 40–50 g salt, 1/2 cup vinegar, juice of 3–4 calamansi, crushed garlic, and a little sugar.
- Sugar, if you’re doing tapa — traditional, and it doesn’t compromise safety as long as the salt and acid are still doing their job.
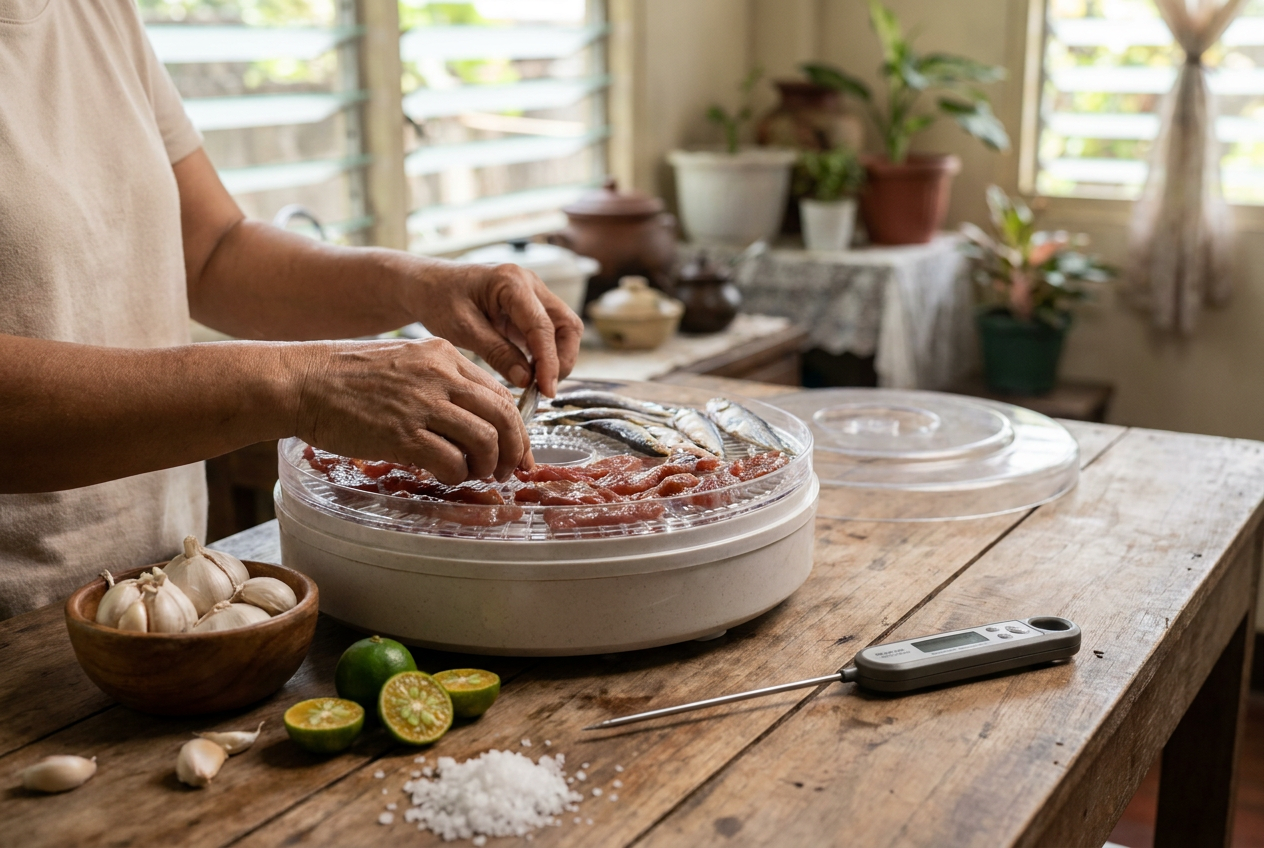
- A way to measure temperature — this is the part most home dryers skip, and it’s the part that actually keeps you safe. A basic oven thermometer or a probe thermometer (₱200–₱600 on Shopee or Lazada) tells you what’s really happening inside your oven or dehydrator, which can run well off from what the dial claims.
- A food dehydrator or an oven that holds a low, steady temperature. This is the equipment decision that matters most, and I’ll explain why below. A basic countertop dehydrator runs roughly ₱1,200–₱3,500 on Shopee or Lazada, and appliance stores carry a few models too. You don’t need a large or expensive one — you need one that holds a steady, known temperature and has a fan for airflow.
- Clean containers or resealable bags for the cured product before drying, and clean hands and surfaces throughout — meat and fish that are about to sit at warm temperatures for hours need a clean start.
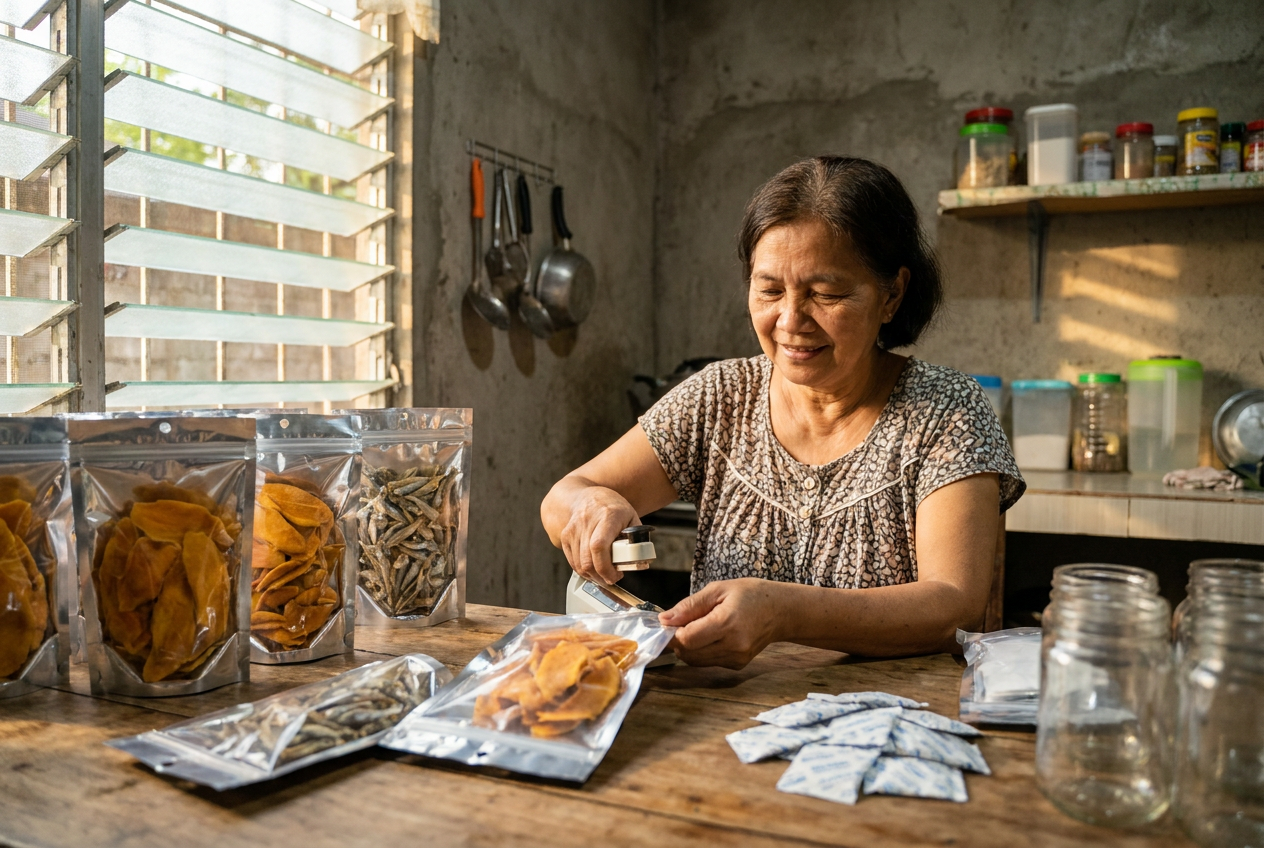
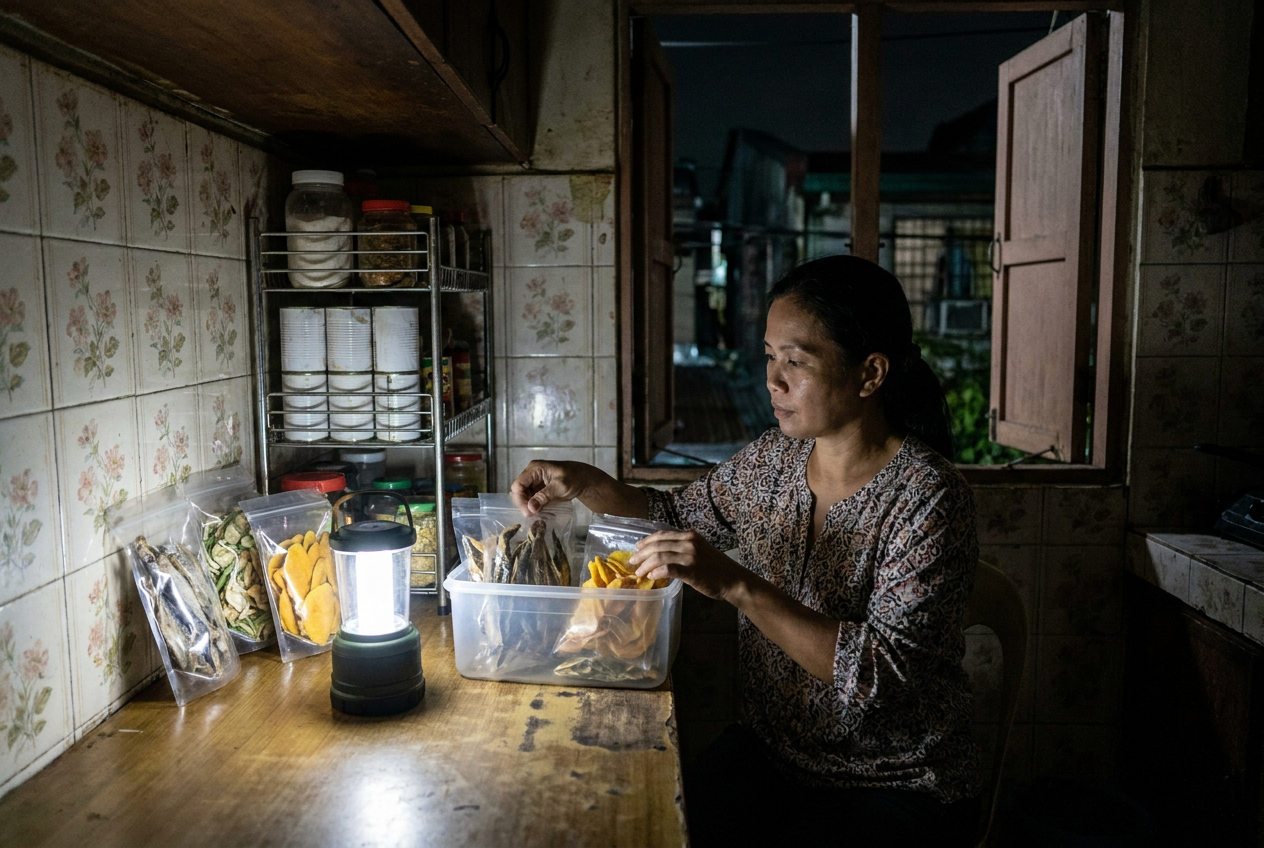
- Airtight storage for after drying — a container with a tight seal, or vacuum-sealed bags, kept cool and dark, ideally with a food-safe desiccant packet if you’re storing for more than a few weeks. Long-term packaging is its own topic; treat this as the minimum for getting a batch through a test run or a short outage.
I’m not scoring dehydrators or thermometers here — this is a technique guide, not a buying guide — but if you’re shopping for either, treat “holds a steady, known temperature” as the one spec that matters more than price or brand.
The method
1. Cure it properly first, with measured salt and real time. For tapa: slice beef thin, against the grain, and submerge it in the salt-vinegar-garlic-sugar mix above (about 40–50 g salt per kilo of meat) for at least 4 hours, ideally overnight, refrigerated at 4°C or below. For tuyo or danggit: clean the fish, then soak in a 20 percent brine (200 g salt per liter of water) or pack in dry salt, for a minimum of 3 to 4 hours for small fish and up to overnight for larger ones, refrigerated at 4°C or below throughout. The salt and acid need real contact time at a cold, controlled temperature to actually penetrate the flesh — a quick rinse in salty water is not curing, it’s seasoning, and it won’t protect you the same way. Fish left warm and unrefrigerated during curing is a particular risk: certain spoilage bacteria in fish can produce histamine that isn’t destroyed by drying or cooking and won’t always announce itself with an obvious smell, which is exactly why the cure has to happen cold, not at room temperature “to save time.”
2. Drain and pat dry before you start heat-drying. Wet, dripping meat or fish just extends the time it sits in the temperature range where bacteria multiply, which is exactly what you’re trying to avoid.
3. Bring it to a safe internal temperature before or during drying — this is the number that actually matters. For beef, that means reaching an internal temperature of 71°C (160°F) before or during the drying process. For fish, treat it the same way you would poultry and target 74°C (165°F) internal. In practice, most home dehydrators don’t reliably hit these internal temperatures through drying alone, which is why the safest home method is to steam, simmer, or briefly oven-heat the meat or fish to that internal temperature first (check it with a probe thermometer inserted into the thickest piece), and then dry it. If your dehydrator or oven setup is hot enough to bring the meat to temperature during the drying cycle itself, you still need to verify it with the thermometer — don’t assume.
4. Maintain a steady drying temperature of 54–60°C (130–140°F) throughout the drying process. This is the ambient temperature inside the dehydrator or oven, not the internal meat temperature from step 3 — you need both. Many Philippine home ovens don’t have a dial setting this low; in my experience checking a few common household units, “low” often actually runs closer to 100–140°C even when the dial says less, which is why the thermometer matters more than the dial. If your oven can’t hold near 60°C with the door propped slightly open to vent moisture, a dehydrator built for this temperature range is the safer tool. Don’t dry at a high oven temperature “to be safe from bacteria” and call it done quickly — that cooks and dries unevenly, and it’s not a substitute for hitting the correct internal temperature in step 3.
5. Watch for the right dryness, not a set number of hours. Tapa-style jerky is done when it’s firm, dark, and bends without snapping wet — leathery, not crumbly, not squishy. Tuyo and danggit are done when the flesh is stiff all the way through, not just on the surface, with no soft or translucent patches near the bone.
6. Cool it fully on a clean rack before you store it. Bagging warm, slightly humid dried meat or fish is one of the most common ways people undo all the careful curing and drying they just did — trapped moisture is exactly what spoilage organisms want. Once fully cool, move it into an airtight container or vacuum-sealed bag, cool and dark, with a desiccant packet if you’re storing beyond a couple of weeks.
Variations & conditions
Tapa vs. tuyo/danggit. Beef tapa relies on salt, acid, and sugar together, and its lower fat content (if you trim well) helps it dry more evenly. Tuyo and danggit rely almost entirely on salt concentration, since there’s usually no vinegar in the traditional cure — which means you genuinely cannot be shy with the salt (that 20 percent brine) if you’re drying fish for storage rather than for tomorrow’s breakfast.
Why not just air-dry outdoors, the way it’s always been done? Sun-drying fish on a rooftop or a bamboo rack works, and generations of Filipino families have eaten well on tuyo made exactly that way. But that traditional method assumes dry season sun, moving air, and a day or two of consistent heat — and it’s built around fish, where the salt load is very high. For meat specifically, in our humid season, open-air drying is a real gamble: the surface can look dry while the inside stays in the warm, damp zone where bacteria and mold thrive for hours longer than it would in a low-humidity country, and there’s no way to verify with a thermometer that the meat ever reached a safe internal temperature at all. Rain, humidity spikes, and flies are not occasional problems here — they are the default weather. A dehydrator or a low oven gives you a controlled, repeatable environment regardless of what’s happening outside, which is precisely the point when you’re making food meant to sit in storage for weeks, not food you’ll eat that same evening.
Typhoon season specifically. If you’re prepping ahead of a storm that PAGASA has flagged, don’t try to rush a batch of jerky or tuyo in the day or two before landfall — curing and drying meat safely takes patience, and a rushed, under-dried batch is worse than no batch at all. Dry your emergency protein stores during calm weeks, well ahead of the season, and rotate them into your pantry-food rotation the way you would canned goods.
Common mistakes
- Skipping the measured salt or brine and going “by feel.” This is the single biggest way home-dried meat and fish goes wrong. Measure your salt (40–50 g per kilo for tapa, a 20 percent brine for fish) the first several times you do this, even if it feels unnecessary — consistency is what keeps the cure working the same way every batch.
- Curing at room temperature instead of refrigerated. Warm curing speeds up the wrong kind of activity. Keep it at 4°C or below, in the fridge, for the full cure time.
- Skipping the internal-temperature step and relying on drying alone. Getting the meat or fish to 71°C (beef) or 74°C (fish, treated like poultry) before or during drying is not optional extra caution — it’s the step that actually makes the food safe, and drying temperature and time alone don’t reliably achieve it.
- Trusting the oven dial instead of a thermometer. Ovens lie, especially older or cheaper units, and “low” can still land well above the 54–60°C drying range you actually need. At meat-drying temperatures that swing matters.
- Drying meat in open air during humid weather because “that’s how tuyo is done.” Fish and meat are not the same risk category, and even for fish, open-air drying only works reliably in dry, moving-air conditions. What’s a reasonable practice for salted fish in the right season is a bad idea for meat most of the year here.
- Stopping as soon as it looks dry on the outside. Break a piece open. If the center looks pinker, wetter, or softer than the outside, it’s not done — keep drying.
- Storing while still warm or slightly damp. Cool completely on a rack, in a single layer, before bagging into an airtight container.
- Ignoring the signs of spoilage because “it’s dried, so it should be fine.” Drying and curing reduce risk; they do not eliminate it. Throw it out if you see any fuzzy or colored mold (not just a dry white salt bloom, which can be normal on some cured fish), if it smells sour, ammonia-like, or simply “off” rather than pleasantly salty and smoky, if it feels sticky or slimy rather than firm and leathery, or if you notice any signs of insect activity in storage. Be extra cautious with fish specifically: histamine-related spoilage doesn’t always show up as an obvious smell or appearance change, which is exactly why getting the cure temperature, cure time, and drying temperature right in the first place matters more than trying to spot a problem afterward. When in doubt, throw it out — this is not the place to test your luck, especially if the reason you’re eating from stores in the first place is that going out for fresh food isn’t easy right now.
How to practise safely
Don’t make your first batch of emergency jerky during an actual emergency. Do a trial run on a calm weekend: cure a small measured batch, bring it to the correct internal temperature (71°C for beef, 74°C for fish) with a probe thermometer in hand, dry it at a verified 54–60°C, taste it, and see how it holds over a week or two in an airtight container before you commit real money and real protein to a bigger batch for storage. Note how your specific oven or dehydrator actually performs against its dial, and write that number down somewhere you’ll remember — it’s the single most useful thing you’ll learn from a practice run. Get comfortable with what “done” looks and feels like by touch, not just by the clock, so that when you’re doing this for real, ahead of a typhoon or in the middle of a long outage, you’re relying on a skill you’ve already tested rather than a recipe you’re reading for the first time. And when the specifics of curing ratios or safe temperatures matter more than a home guide can responsibly cover, that’s the moment to check current Department of Health food-safety guidance directly rather than guessing — this is food safety, not gear, and it’s worth getting from the source.