Sun-drying and oven-drying fruits and vegetables at home
Dry mango, banana, malunggay & chili without a dehydrator. Sun-drying and oven-drying steps for shelf-stable pantry food any Filipino home can do.
What you’ll be able to do — and why it matters
By the end of this, you will be able to turn a kilo of ripe mangoes, a hand of overripe saba, or a bundle of malunggay leaves into something that keeps for weeks to a few months without a freezer, without electricity, and without buying a single piece of equipment. That last part matters more than it sounds like it should.
I have looked at dehydrators online — the countertop kind with the stacked trays and the little fan. They work fine. They also cost anywhere from ₱2,000 to ₱6,000, and they need a working outlet the whole time they are running, which is exactly the thing you cannot count on here. During a bad wet season stretch, or after a storm knocks out power for a few days, a piece of gear that only works when the grid does is not preparedness — it’s a countertop ornament. The sun and your oven do not care if the barangay is on a rotating brownout schedule.
This is really a food preservation skill, and it earns its place on a pantry-food page for a simple reason: dried fruit and vegetables are shelf-stable calories and micronutrients that do not need refrigeration, do not spoil in a flooded bodega, and take up a fraction of the space of fresh produce. A kilo of fresh malunggay leaves is bulky and wilts in two days. Dried down, it is a double handful in a jar, and it still has most of what your family needs from it — as long as it was dried properly and stored right, which is really the whole subject of this guide.
What you need
You do not need special equipment, but you do need a few things that make the difference between drying food and growing mold on it.
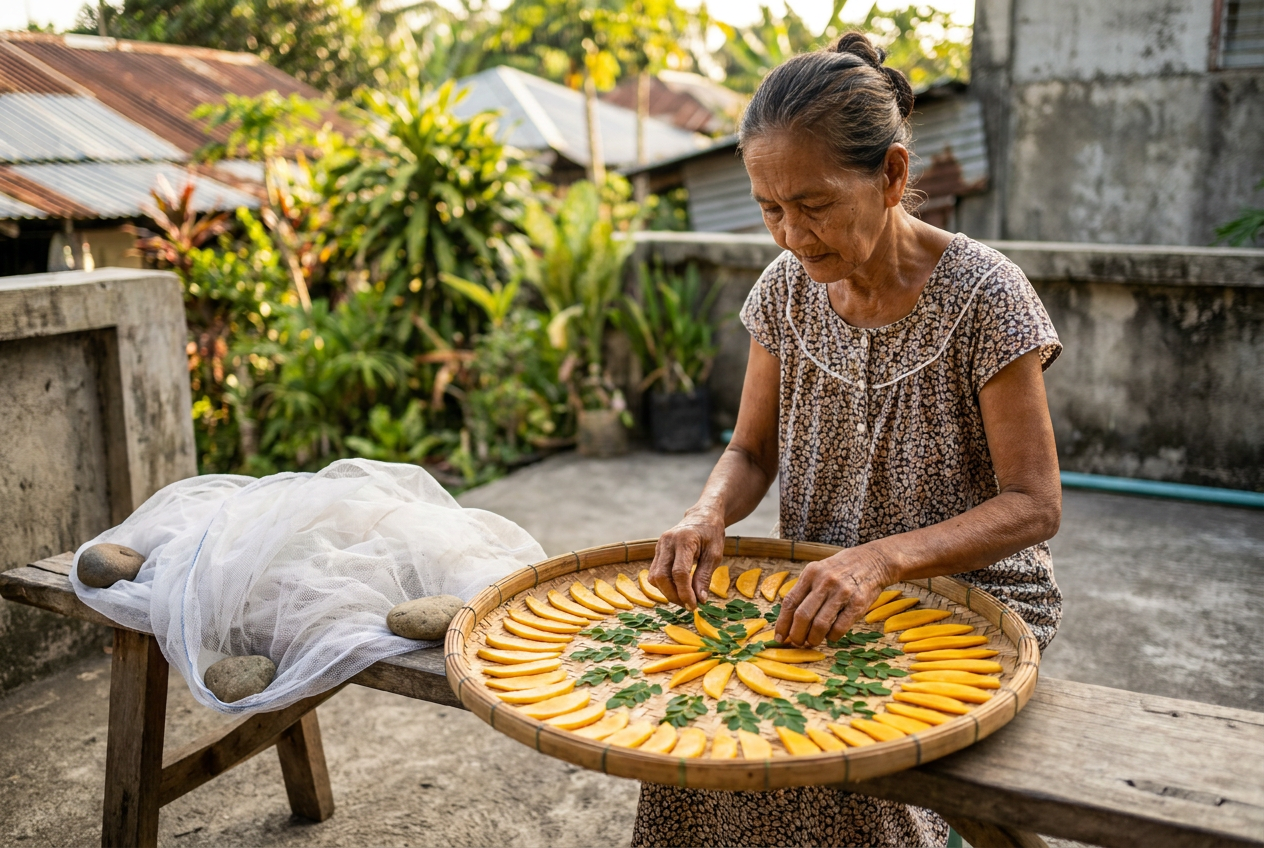
A flat surface with airflow, raised off the ground. A bilao (the round woven bamboo tray used for suman and rice) is the traditional choice for a reason — it’s wide, shallow, and lets air move underneath. You can find one at a palengke or a hardware store for roughly ₱80–₱200 depending on size. A cake cooling rack or a window screen set up on blocks works too. What you’re after is air on all sides of the food, not just the top — and height off the ground, always on a table, bench, or blocks, never directly on soil or bare concrete. Ground level is where rodents and other animals move and urinate, and that is a real leptospirosis risk here, not a theoretical one. Keep trays away from areas where dogs, cats, or chickens roam, and wash your hands after handling anything that has been sitting outside, before you touch the food again.
Cheesecloth or fine mosquito netting. This goes over the top of whatever you’re drying in the sun. A meter of mosquito netting from a hardware store runs about ₱50–₱150 and covers several batches over its life. Flies and dust land on exposed food fast, and once fly eggs are in your dried mango, no amount of “it looked fine” saves it. Weigh the edges of the cloth down with clips or stones so wind doesn’t lift it.
A sharp knife and a cutting board. Thickness control is most of the skill here. A mandoline slicer helps if you have one, but a steady hand with a knife is enough.
An oven, ideally one that can hold a low temperature. This is worth being honest about: plenty of budget Philippine ovens, especially small countertop or toaster-oven types, do not actually go below 120–150°C on their lowest dial setting, whatever the marked number says. If yours bottoms out there, do not force it — a hot oven scorches the outside before the inside is dry, which is called case-hardening, and it does not make food safer, just worse. What you want, if your oven allows it, is somewhere around 55–63°C (about 130–145°F) for fruit and vegetables, with the door propped open slightly with a wooden spoon so steam escapes instead of condensing back onto the food. If your oven cannot get anywhere near that range even with the door cracked, sun-drying is the better tool for the job, not the fallback — use the oven only on days when the sun genuinely isn’t an option, and check food often since a too-hot oven can go from underdone to burnt with no dry, safe in-between.
Something to weigh or judge doneness by feel. A kitchen scale is nice but not required. Your hands, a knife to cut into the thickest piece, and a bit of patience do the job.
None of this is reviewed gear with a score — it’s technique. If you’re building out the rest of a pantry-food shelf, that’s a separate conversation from what’s on this page.
The method
1. Wash and inspect first, always. Rinse fruit and vegetables under running water, checking for bruising, insect damage, or soft spots. Cut those parts away generously — when in doubt, cut more, not less. Drying does not fix food that started out compromised; it concentrates whatever problem was already there, sugars, spoilage, and all. Washing and trimming is enough for produce you are about to dry; you don’t need a vinegar rinse or any special sanitizing step for fruit and vegetables, just a proper rinse under running water and a clean cutting board and knife.
2. Slice to a consistent thickness. This is the step people rush, and it’s the one that decides whether you get something shelf-stable or something with a wet, moldy center three weeks later.
- Mango: peel, slice into strips about 5–7 millimeters thick. Thinner dries faster and more evenly than thick chunks.
- Banana (saba or lakatan): peel, slice into rounds about 5 millimeters thick, or lengthwise strips if you want mat-style dried banana.
- Malunggay: strip the leaves off the stems first — the stems don’t dry well and aren’t worth the space. Leaves go on the tray in a thin, loose layer, not clumped.
- Kamote tops: same idea as malunggay — leaves only, thin layer, no clumping. Clumped leaves trap moisture against each other and that’s where mold starts.
- Chili: whole small chilies (siling labuyo) can dry as-is if you’re patient; larger chilies dry faster split in half lengthwise with seeds scraped out.
3. Arrange with space between pieces, raised off the ground. Nothing touching, nothing overlapping, and the tray itself up on a table, bench, or blocks — not on the floor, the ground, or bare pavement. If pieces touch, the touching spots stay damp longer than the exposed surfaces, and that’s exactly where spoilage starts first.
4. For sun-drying: set the bilao or screen on a raised surface somewhere it gets direct sun most of the day, away from where pets or animals pass through, cover with cheesecloth, and bring it inside before evening dew settles or before rain — check PAGASA for the day’s forecast if you’re not sure a clear afternoon is going to hold. Flip the pieces once around midday so both sides get sun. Expect 2–4 days for fruit like mango and banana, depending on how strong the sun is and how humid the air is — and Philippine air is humid most of the year, which is the main reason this takes longer here than it would somewhere dry. Leafy vegetables like malunggay and kamote tops dry much faster in full sun, often in a single full day, because there’s so little moisture in a leaf compared to a slice of mango. Wash your hands before handling the food again once it comes in from outside.
5. For oven-drying: if your oven can hold roughly 55–63°C with the door propped open, set it there. This range matters for more than texture — it is low enough to avoid case-hardening (a dry crust sealing moisture inside) but it also means the food should not sit for hours in the warm, damp middle range where bacteria multiply fastest. Keeping airflow moving with the door cracked and checking regularly is how you avoid food lingering half-dry and warm for too long. Spread pieces on a rack or parchment-lined tray with space between them. Fruit slices generally take 4–8 hours depending on thickness and your oven’s actual temperature — check at the 4-hour mark and every hour after. If your oven cannot get below 120°C even with the door open, do not use it for fruit and vegetables at all; that heat is fine for baking but too aggressive for slow drying, and you’re better off waiting for a sunny day. Leafy vegetables dry much faster in the oven, often under an hour, and can go from perfectly dry to scorched in the time it takes to answer a phone call, so stay close.
6. Judge doneness by feel — and by cutting into the thickest piece, not the thinnest. Pull the largest, thickest piece on the tray, since that’s the one most likely to still be damp in the middle even when everything else looks done. Tear or cut it open. Dried mango and banana should be leathery and pliable all the way through, with no sticky, wet, or translucent spot at the center. Dried malunggay and kamote top leaves should crumble easily between your fingers, not fold or feel cool and limp. Dried chili should snap, not bend. Remember that “looks dry on the outside” is not the same as “dry enough to be safe” — the check that counts is the thickest piece, cut open.
Variations & conditions
Full sun versus filtered sun. A day with scattered clouds still dries food, just more slowly — plan on an extra day for fruit. Overcast, humid days with no real sun are not worth trying; the food sits there absorbing ambient moisture faster than it loses it, which is a recipe for mold, not dried mango.
Wet season versus dry season. This method genuinely works better from roughly November through April, when the air is drier and the sun is more reliable. During habagat season or when a storm system is anywhere near, sun-drying is a losing bet — the oven, if yours can hold a low enough temperature, becomes the only realistic option, or you wait.
High humidity days generally. Even in dry season, a muggy afternoon slows things down. If pieces still feel tacky or damp after your usual drying time, give them more time rather than calling it done early. Underdried food is the single biggest cause of spoiled batches.
Elevation and airflow. A tray on a breezy balcony dries faster than the same tray in a still, enclosed courtyard. If you can put the tray somewhere with a bit of natural cross-breeze, do it — as long as it’s still up off the ground and out of reach of animals.
Oven-drying as the wet-season fallback. This is worth saying plainly: if it’s raining and you still want to process a bag of ripe mangoes before they go to waste, an oven that can hold roughly 55–63°C with the door ajar is your path. It uses electricity, which is the tradeoff — but at least it doesn’t depend on multiple clear days in a row. If your oven can’t hold that range, the honest answer is to wait for the sun, or accept a shorter shelf life and eat the batch sooner.
Common mistakes
Slicing unevenly. Thick and thin pieces on the same tray means some are perfectly dry while others are still damp in the middle when you pack everything away together. The damp ones will spoil and can spread mold to the dry ones sitting next to them in a jar.
Skipping the cheesecloth. I’ve seen trays left uncovered “just for a few minutes” turn into a fly problem that ruins the whole batch. Cover it every time, even if you’re just stepping inside to answer the phone.
Drying directly on the ground or a low table. It looks harmless, but ground level in a Philippine backyard means whatever animals pass through — rats, cats, dogs, chickens — have been there too. Always raise the tray, and always wash your hands before handling the food again after it’s been outside.
Clumping leafy greens. Malunggay and kamote tops piled on top of each other trap moisture in the middle of the pile no matter how sunny it is outside. Spread thin, always.
Pulling food out too early because it “looks dry”. The outside of a mango slice can look dry while the center is still soft and moist. Cut into the thickest piece in the batch, not a thin one, and check before you call it finished. Finding out you were wrong later costs you the whole batch, not just the one piece.
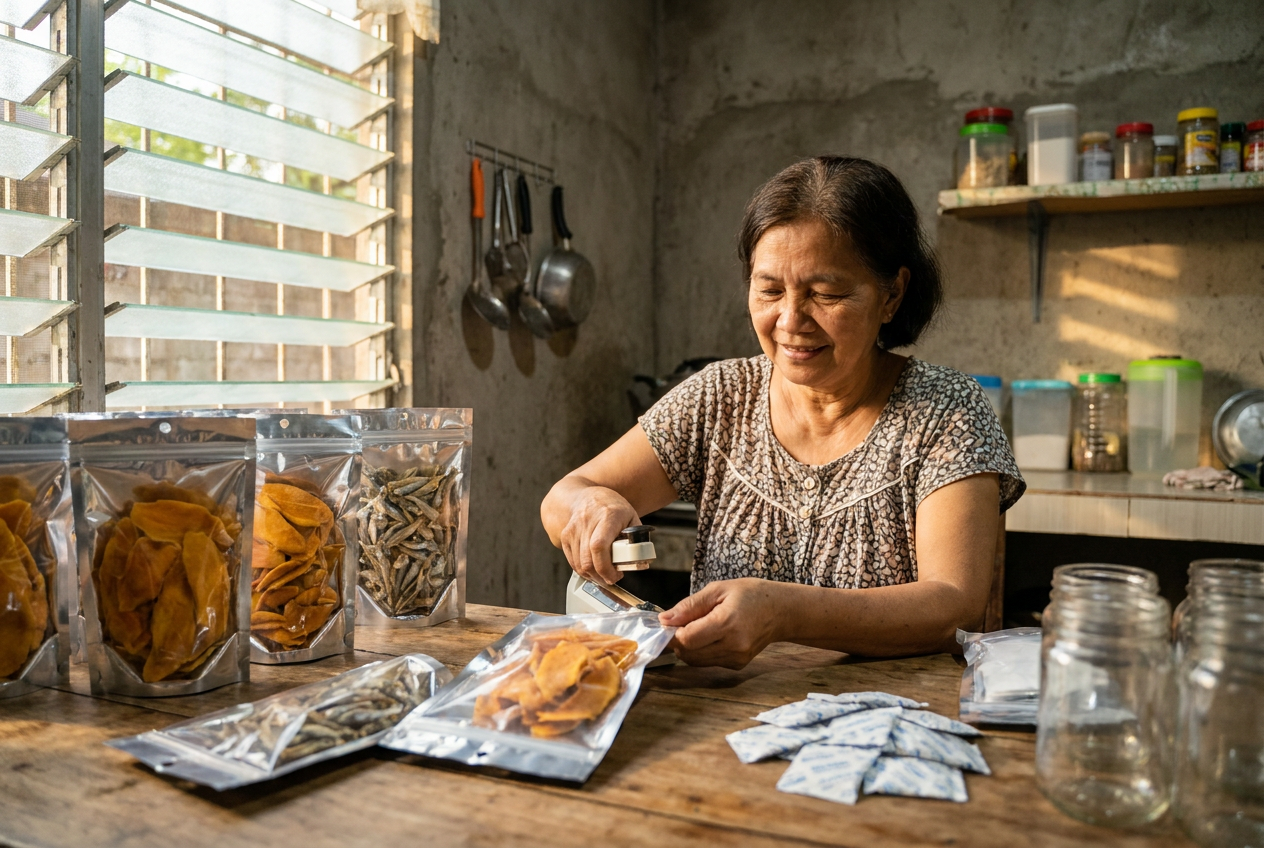
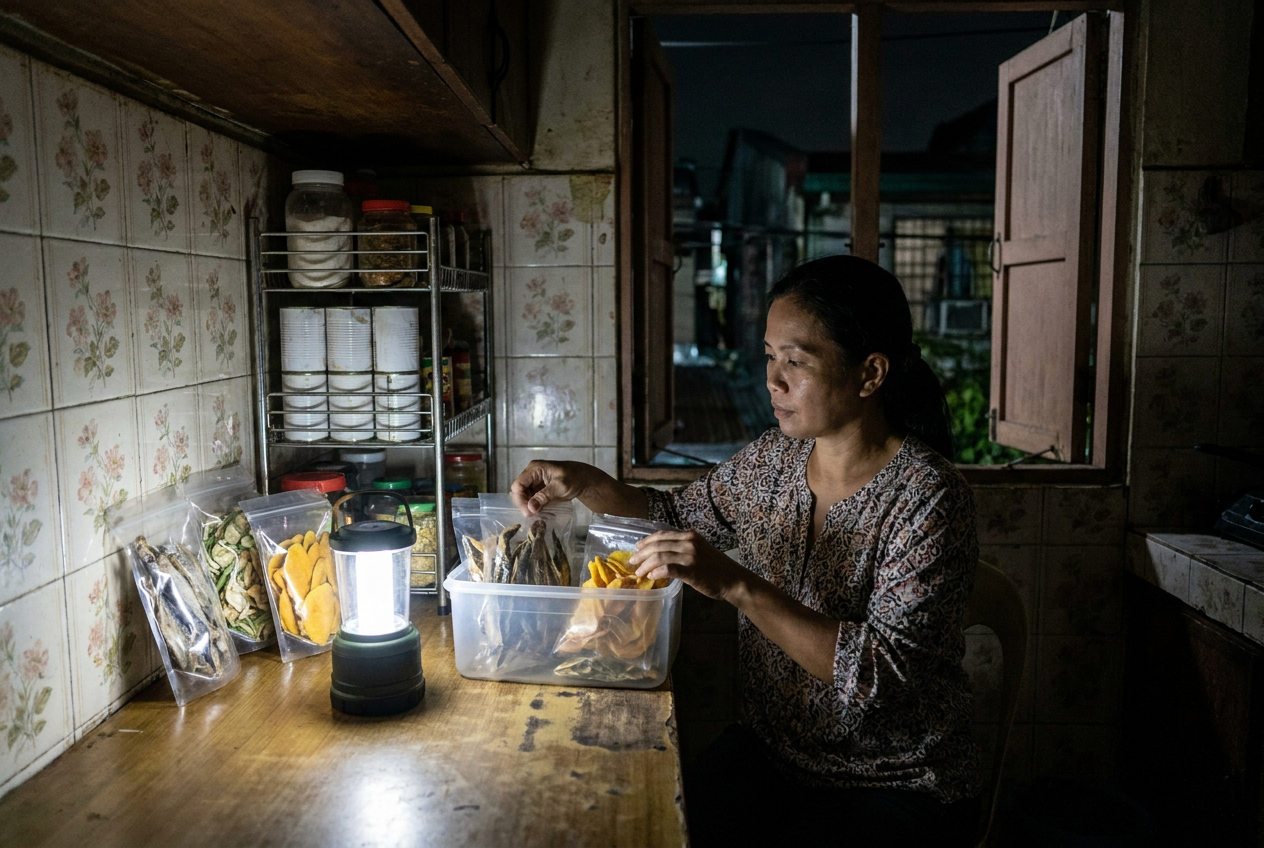
Storing warm. Let dried food cool completely — a good hour at room temperature — before it goes into any container. Warm food sealed up creates condensation on the inside of the container as it cools, and that moisture goes right back into the food, undoing the drying. Once cool and packed into a clean, airtight jar and kept in a cool, dark place, most dried fruit keeps for a few weeks to a few months; dried leafy vegetables tend toward the shorter end of that range. Check jars occasionally. Any fuzzy spot, off smell, or unusual softness means mold — discard that piece and inspect the rest closely; never scrape mold off and keep the food, since what you can see is rarely all of it.
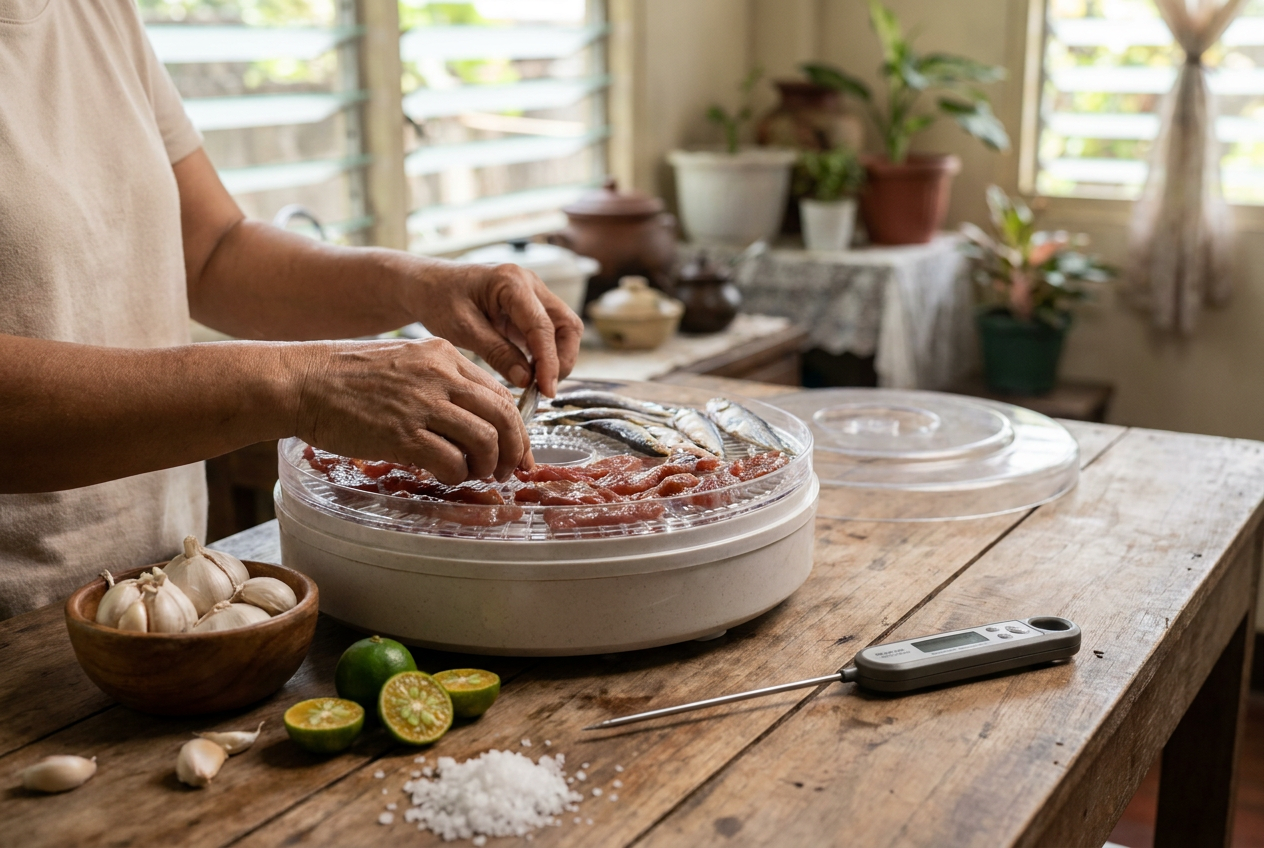
Trying to dry meat or fish the same way. Don’t. Drying meat or fish safely means holding it at a higher temperature than fruit needs — commonly around 70°C internal at some point in the process to control bacteria like Salmonella — plus different handling and curing steps entirely. Treating raw protein like fruit, at fruit-drying temperatures, is how people get sick. That’s a separate topic with its own rules, and outside what this guide covers.
How to practise safely
Start small and with something forgiving. Banana is the easiest first attempt — it’s cheap, it’s usually available overripe and going soft anyway, and it tolerates a slightly uneven slice better than mango does. Do one small tray, track how long it actually took in your specific spot with your specific oven, and write it down. Every household’s balcony, every oven’s actual lowest temperature, is a little different, and the only way to know your numbers is to run a batch and watch it.
Once you’ve got banana down, move to mango, then try a leafy vegetable like kamote tops on a bright afternoon since it dries fast and gives you quick feedback. Save chili for last — the drying itself is easy, but crushing very dry chili afterward throws up a fine capsaicin dust that stings the eyes and airway. Do that step outdoors or near an open window, and cover your nose and mouth if you’re doing a large batch.
The habit worth building before you actually need it: doing this once during an ordinary sunny week, not for the first time when a typhoon is bearing down and your fridge is about to lose power. Preparedness gear you’ve never tested is a guess. Preparedness skill you’ve practiced twice is something you can actually rely on.