Mylar bags vs jars: storing dried food in the Philippines
Store dried food the right way vs PH humidity: mylar bags, oxygen absorbers, vacuum sealing, and safe drying temps for meat and fish.
What you’ll be able to do — and why it matters
If you’ve already dried your own mangoes, malunggay, fish, or tapa-style meat, you’ve done the hard part. But I’ve seen this happen too many times: someone spends a whole weekend drying a batch of food properly, then tosses it into an old ice cream container or a knotted plastic bag, and two months later it’s gone soft, musty, or full of tiny bugs. All that work, wasted, because the packaging step got treated as an afterthought.
Drying removes the water that spoilage organisms need. Packaging is what keeps that water — and the oxygen that causes rancidity — from creeping back in. In our climate, that second part matters just as much as the first. We don’t have a dry season and a wet season so much as a humid season and a very humid season, and a bag of dried fish left out on the counter in Quezon City in August will pull moisture out of the air whether you meant it to or not.
By the end of this guide, you’ll know how to pack dried food so it survives months on a shelf instead of weeks in a jar, what to buy and roughly what it costs, and how to tell when a batch has quietly gone bad before it makes anyone sick.
One thing this guide does not replace: doing the drying itself safely, especially for meat and fish. Packaging protects food that was dried correctly. It does nothing for food that wasn’t.
What you need
You don’t need all of these — you need the right combination for what you’re storing and how long you want it to last.
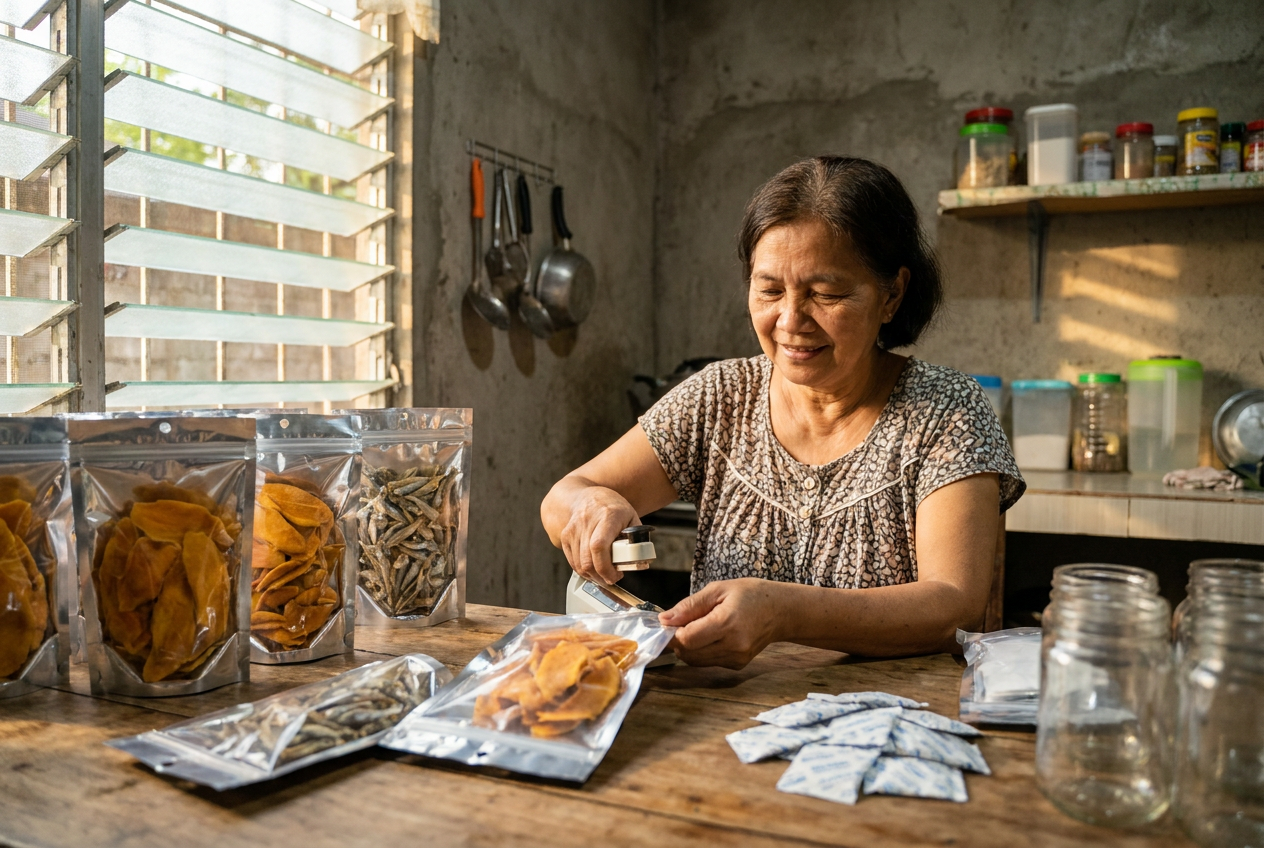
Mylar bags. These are the metallic-looking pouches you’ll see used for rice and camping meals. They block light, oxygen, and moisture almost completely, which plain plastic cannot do. Look for food-grade mylar rated at least 5 mil thick — this is the thickness commonly recommended by long-term food storage suppliers because thinner material punctures easily during handling and doesn’t hold a seal reliably over months. Sold by the piece or in packs of 10-50 on Lazada and Shopee, usually ₱15-40 each depending on size and thickness. Buy a heat sealer or use a clothes iron over a folded towel to seal the open end — either works, but a proper impulse sealer (₱300-700) gives you a cleaner, more reliable seal than freehand ironing.
Oxygen absorbers. Small packets, similar to the silica gel packs you find in shoe boxes, but these actually absorb oxygen rather than moisture. They matter because dried food that still has a trace of oxygen in its container will slowly oxidize — fats go rancid, colors dull, and any surviving insect eggs get the air they need to hatch. Sold in sizes measured in cc (cubic centimeters of oxygen absorbed) — 100cc, 300cc, 500cc are common. As a rough rule of thumb, use about 300cc per quart-size (roughly one-liter) bag of low-moisture dried food in low-oxygen-permeability mylar — more if the food is loosely packed with a lot of air pockets, less for something you’ve pressed flat. Buy them in sealed foil packs of 20-100. Once you open that outer foil pack, every absorber inside starts pulling in oxygen from the room air, not just from your food bag — manufacturers generally say to get them into your sealed bags within 15 to 20 minutes, not leave them sitting exposed on the table while you finish portioning. A fresh absorber often feels slightly warm when you open the pack — that warmth is the reaction starting, and it’s a decent quick check that what you bought is genuine and still active rather than an already-spent or counterfeit pack.
A vacuum sealer. Different tool, different job. A vacuum sealer pulls air out of a plastic pouch and seals it — good for keeping food compact and for an extra layer of protection, but on its own it isn’t airtight for the long term the way mylar plus oxygen absorbers is. Entry-level vacuum sealers run ₱1,200-3,500 on Lazada and Shopee; the bags themselves are a recurring cost, so factor that in.
Food-safe airtight containers. Glass jars with rubber-sealed lids, or heavy PET/PP plastic containers marked food-safe, are what you’ll actually reach for day to day — the mylar-and-absorber batches are your reserve stock, but you still need something to portion out of without opening the whole reserve. Look for containers with a rubber or silicone gasket in the lid, not just a snap-fit lid, and keep them out of direct sunlight.
Desiccant packets (silica gel), separately. These absorb moisture, not oxygen, and are a useful add-on inside a container that gets opened and closed often, since every opening lets a little humid air back in.
A rough starting kit — 20 mylar bags, a pack of 100 oxygen absorbers, and a basic heat sealer — runs somewhere around ₱1,500-2,500 total, which is cheap insurance for a season’s worth of dried food. Watch for reviews and seller ratings when buying oxygen absorbers especially; there are counterfeit or already-spent packs circulating on marketplaces, and a dead absorber does nothing for you. If a pack arrives cold and limp instead of slightly warm when opened, treat it as suspect.
The method
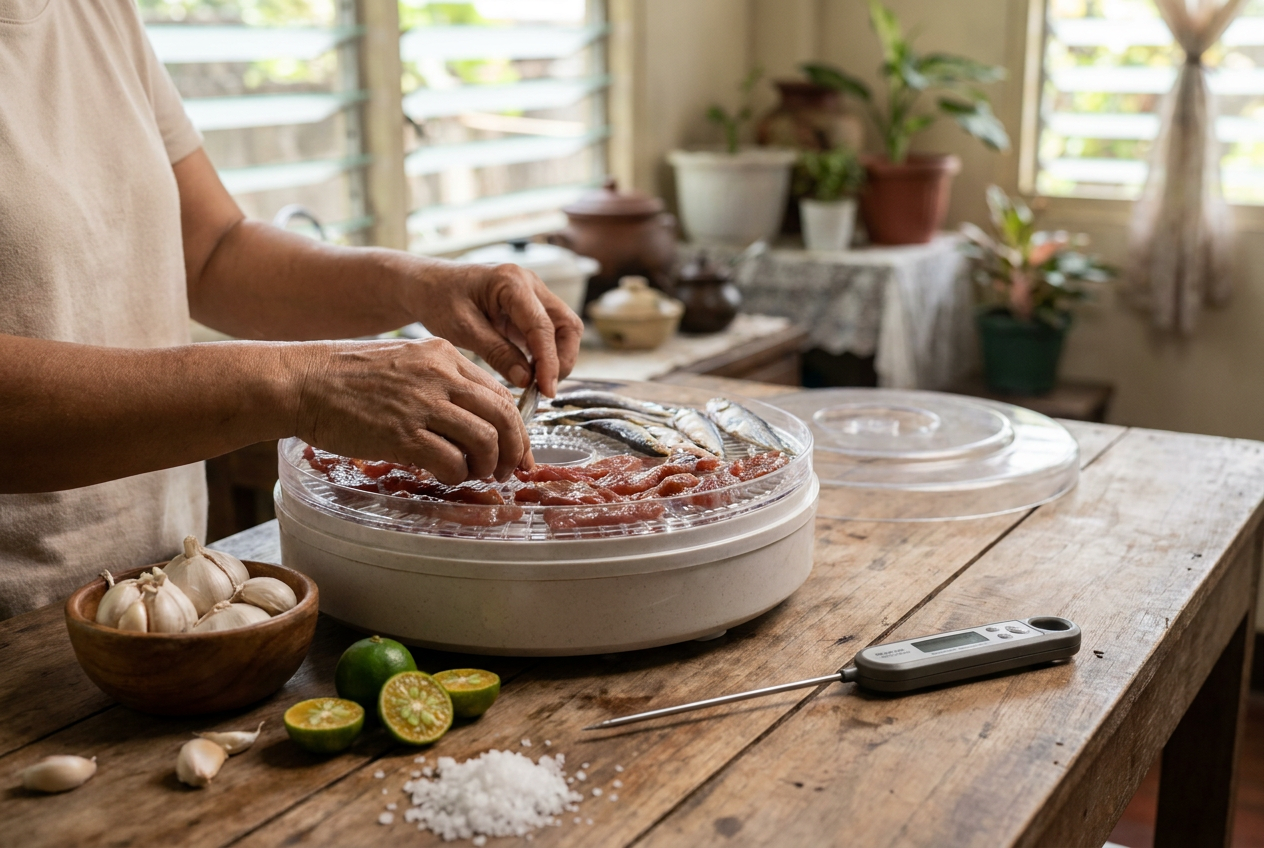
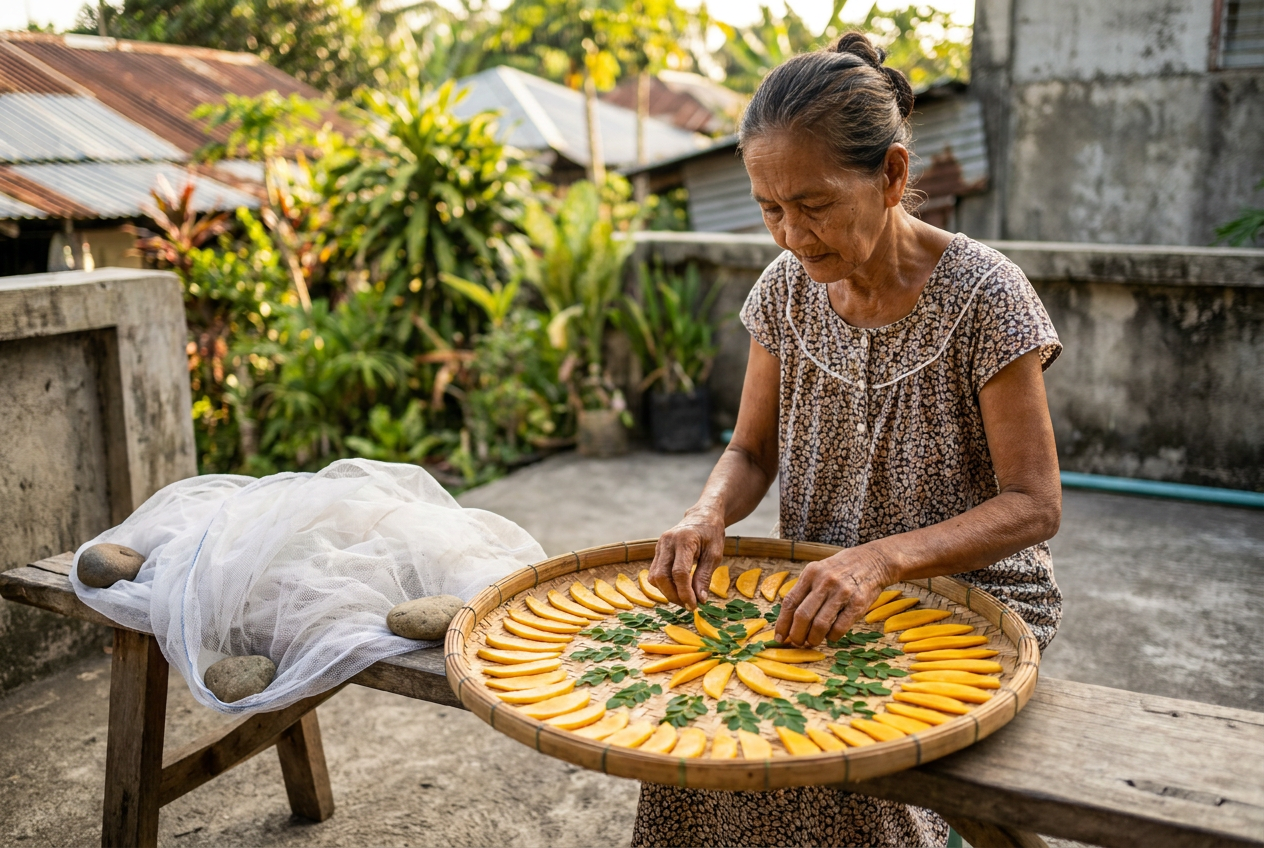
1. Make sure the food is actually dry — and, for meat and fish, that it was dried safely, not just until it looks done. Dried mango should be leathery, not tacky. Dried fish should snap, not bend. Dried meat should be firm throughout, with no cool or damp spots in the thickest part.
But texture alone is not enough to tell you meat or fish is safe — only that it’s dry. Bacteria that can cause serious illness, including the organism responsible for botulism, can survive drying if the meat or fish never reached a safe internal temperature during the process. For home-dried meat like tapa-style jerky, that means heating the meat to at least 71°C (160°F) — and poultry or fish to at least 74°C (165°F) — at some point before or during drying, either by pre-cooking it or by finishing it in an oven hot enough to hit that temperature, rather than relying on a dehydrator or open-air sun-drying alone at low heat. Curing salt (sodium nitrite, used at the manufacturer’s stated rate — never guessed by eye) is another traditional safeguard for cured meats, but it is not a substitute for reaching a safe temperature. If you’re not confident your drying method gets meat or fish hot enough, check current guidance from the Department of Health or treat store-bought, commercially dried tapa and tuyo as the safer choice for your reserve stock rather than home-dried versions. This is not a step to guess your way through — spoilage will announce itself with a bad smell; the bacteria that causes botulism often will not.
If you’re unsure whether produce like mango or malunggay is dry enough, give it another few hours in the dehydrator or under the sun before packaging — sealing in moisture is worse than not sealing at all.
2. Let it cool completely. Warm food releases moisture as it cools, and if that happens inside a sealed bag, you’ve just undone your drying. Spread it out and let it come fully to room temperature, at least 30 minutes, before it goes anywhere near a bag or jar.
3. Choose your container for the job. For food you’ll use within a week or two, an airtight jar or container is fine. For anything you want to keep for months — your actual reserve stock — use mylar bags with oxygen absorbers, or vacuum-sealed bags as a lighter alternative.
4. Portion before you seal. Decide your portion size now, not later. Every time you open a big bag to take some out, you let in air and moisture that shortens the life of everything left inside. I’d rather open five small bags over five months than one big bag five times.
5. Add the oxygen absorber last, then seal immediately. Drop the absorber in on top of the food, right before you close the bag — not before, not while you’re still loading food in. Press out as much air as you can by hand, then seal with your heat sealer or iron, leaving a gap of about 2-3 centimeters between the seal line and the food. That gap matters mechanically: any bits of dried food, oil, or crumbs caught in the seal line will stop the two layers of mylar from fusing cleanly, and a seal with even a tiny gap in it is no seal at all.
6. Label and date everything. Food type, drying date, packaging date. Not because you need a rotation schedule right now — that’s its own topic — but because six months from now you won’t remember which bag is which, and an unlabeled bag of dried something is a bag you’re less likely to trust and use.
7. Store somewhere stable. A cabinet or shelf away from the stove, away from direct sunlight, and off the floor if your area floods. Temperature swings are almost as damaging as humidity — a hot kitchen wall or a spot near a window that bakes in the afternoon sun will shorten shelf life even inside a good mylar bag.
Variations & conditions
Dried meat and fish vs. dried produce. Meat and fish carry two separate risks, and it’s worth keeping them straight. The first is spoilage — fat going rancid, texture going soft — which oxygen absorbers and a good seal genuinely fix. The second is bacterial safety from the drying process itself, which packaging cannot fix at all; that risk has to be handled correctly before the food ever reaches a bag, as covered in the drying step above. Once you’re confident the drying was done safely, meat and fish benefit the most from oxygen absorbers of anything in this guide, every time, no exceptions. Dried fruit and vegetables carry much lower bacterial risk and are more forgiving on packaging — they can sometimes get away with just a good airtight jar and a desiccant packet if you’re using it up within a month or two.
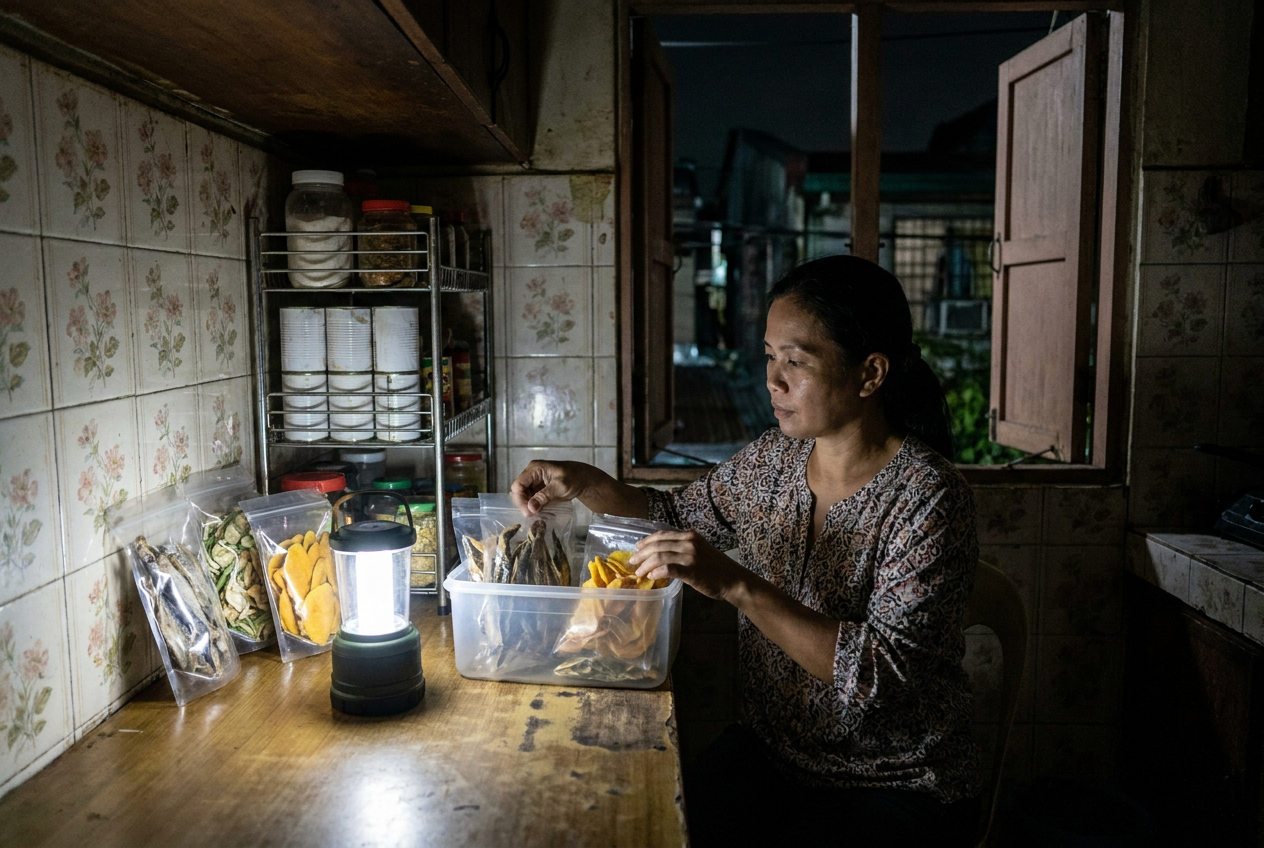
Brownout and heat. During a power outage, your kitchen gets warmer and more humid without the fan or aircon running, and that’s exactly when a poorly sealed bag will start to fail. This is one more reason to package properly ahead of time rather than during a typhoon when you’re distracted with everything else — a bag that survives a brownout is a bag that was already sealed correctly before the power went out, not one you’re improvising with candles lit.
Small batches vs. bulk. If you’re only drying small amounts at a time, it’s tempting to skip the mylar step and just use jars. That’s fine short-term, but I’d still portion and use oxygen absorbers for anything you don’t plan to eat within two to three weeks — bugs and mold don’t care how small the batch is.
Humid provinces and coastal areas. If you’re somewhere with consistently higher humidity — near the coast, or during the wet months — go up a size in oxygen absorber and don’t skimp on mylar thickness. This is not the place to save ₱5 per bag on thinner material.
Common mistakes
Reusing old plastic bags or repurposed containers for long-term storage. A bag that held rice last month may have pinholes you can’t see, and pressing on it with your hand won’t reliably tell you that. If you want to actually test a bag before trusting months of food to it, fill it with a little water and gently squeeze — a fine spray or a slow drip at a seam tells you it’s compromised. But honestly, for anything going into long-term storage, it’s simpler and safer to just not reuse old bags at all. Buy new mylar for your reserve stock and save the repurposed containers for food you’ll eat within days.
Opening the oxygen absorber pack too early. Once that foil pack is opened, the clock starts — you have roughly 15 to 20 minutes to get the absorbers into sealed bags before they’ve pulled in too much oxygen from the room to do much more for your food. I’ve seen people open a pack of 50, use five, and leave the rest sitting in a drawer for the next batch — by then they’re spent and doing nothing. Reseal the unused ones immediately in their own small mylar pouch with a fresh absorber if you must save them, or better, buy smaller packs more often.
Skipping the cooling step. This is the one that gets people who are in a hurry. Sealing warm food traps the very moisture you just spent hours removing.
Trusting a snap-lid container for long-term storage. Snap lids without a gasket let air exchange happen slowly, every day, even if you never open them. Fine for short-term kitchen use, not fine for your six-month reserve.
Treating dried meat and fish as safe based on texture alone. Firm and dry is not the same as safe. If you can’t say with confidence that your meat or fish reached a safe internal temperature during preparation, that’s a gap worth closing before you package it, not after.
Not labeling. An unlabeled, unfamiliar-smelling bag at the back of the shelf a year from now is a bag most people quietly throw away rather than risk — which means all that work is wasted anyway.
Signs your stored dried food has gone bad
Trust your senses over the calendar. Dried food doesn’t have a fixed expiration the way fresh food does — how it was dried and packaged matters more than how many months have passed. But senses only catch spoilage, not every bacterial risk — which is exactly why getting the drying step right matters more than any check you do later.
- Smell. Any sour, musty, or “off” smell when you open the bag means don’t eat it. Properly dried, well-sealed food should smell like itself — dried mango smells like mango, dried fish smells like dried fish — not like a damp closet.
- Texture. If dried fruit or meat feels soft, tacky, or damp instead of leathery or firm, moisture has gotten in, and mold is likely already starting even if you can’t see it yet.
- Visible mold. Any fuzzy spots, regardless of color, mean the whole bag goes in the trash. Don’t try to cut around it or dry it out again — mold on dried food can extend roots and produce toxins well beyond what’s visible on the surface, so salvaging part of a batch isn’t worth the risk.
- Discoloration. Fats going rancid often show up as a dulling or darkening of color before any smell is obvious — this is your oxygen absorber’s job to prevent, and a sign it may have failed or wasn’t fresh.
- Insects or larvae. Small holes, webbing, or actual bugs mean the seal failed somewhere, or the food wasn’t fully dry to begin with. Everything in that bag is compromised, not just the visibly affected pieces.
- A bag that’s gone soft or lost its rigidity. A properly sealed mylar bag with a working oxygen absorber pulls into a firm, slightly vacuum-tight shape as the absorber removes oxygen from inside — that’s the absorber doing its job, not a defect. If a bag that once felt firm has gone soft and floppy later on, air has gotten back in through a failed seal, and the contents should be checked carefully before use.
- Any doubt at all about how meat or fish was originally dried. No smell or texture cue reliably rules out bacterial risk. If you’re not sure the drying step was done safely in the first place, don’t rely on how it looks or smells months later to decide.
When in doubt, throw it out. The whole point of packaging is that you shouldn’t have to guess — a good seal removes the guesswork, and a failed one is telling you something.
How to practise safely
Before you commit a big batch to storage, run a small test. Package a few portions using your new mylar bags and oxygen absorbers, and set one aside to open and inspect after two weeks, another after a month. This tells you whether your sealing technique is actually working before you find out the hard way with your whole reserve.
It’s also worth doing a “blind” seal check: press on a few sealed bags a day after sealing. They should feel taut, almost vacuum-packed, from the oxygen absorber pulling oxygen out of the air trapped inside. A bag that still feels loose and full of air a day later has a seal that didn’t take, and it’s better to know that now, with a test batch, than in six months when you actually need the food inside it.
For meat and fish specifically, treat the drying process itself as the step to get right before you ever practise sealing — a food thermometer is a small, cheap thing to add to your kitchen if you’re serious about drying your own tapa or tuyo, and it tells you something texture never can.
None of this replaces good judgment at the table — no amount of careful packaging makes food safe to eat if it smells or looks wrong when you open it. Packaging buys you time and reliability. It doesn’t buy you certainty forever, which is exactly why the next step in building a real pantry — rotation — matters as much as this one does.